Affiliate disclosure: As an Amazon Associate we earn from qualifying purchases. This post contains affiliate links — if you buy through them we may earn a small commission at no extra cost to you. This never affects our recommendations.
DDR5 memory has become the standard for gaming builds in 2026, but most gamers leave significant performance on the table by running stock speeds. Overclocking your DDR5 RAM through EXPO (AMD) or XMP (Intel) profiles—and even manual tuning—can unlock frame rate gains, lower latency, and improve overall system responsiveness without the complexity of CPU overclocking. This guide walks you through safe, tested procedures to maximize your DDR5 investment.
In a hurry? See the top-rated How to Overclock DDR5 RAM Safely deals available right now:
🛒 Check How To Overclock Ddr5 Ram Safely Prices on Amazon →Why Overclock DDR5 RAM?
Memory speed and latency directly impact gaming performance. While high-end gaming CPUs get the attention, optimized DDR5 memory can deliver measurable FPS improvements, particularly in CPU-limited scenarios and esports titles. A well-tuned DDR5-6000 CL30 kit often outperforms stock DDR5-6400 because lower latency reduces memory access time—a metric measured in nanoseconds that CPU cores care deeply about.
Additionally, overclocking RAM is one of the safest hardware modifications available. Unlike CPU and GPU overclocking, which generate significant heat and degrade silicon, memory overclocking operates at modest voltage increases and requires far less expertise to execute safely. Most gamers can achieve stable 5–10% speed gains in an afternoon.
For context on the best DDR5 RAM available for gaming, check our comprehensive guide to the top DDR5 kits, which covers everything from budget options to high-end tuning-friendly models.
AMD EXPO vs Intel XMP: What’s the Difference?
Both EXPO and XMP are manufacturer-tested profiles that pre-configure memory speed, timings, and voltage for stable operation on your platform. Here’s how they differ:
Intel XMP 3.0
- Supports both DDR4 and DDR5 memory
- Allows multiple profiles per kit (e.g., XMP Profile 1 and 2)
- Works on Intel Z790, Z890, and newer platforms
- Typically targets higher speeds (6000–8000 MT/s) with slightly looser timings
- Voltage settings range from 1.35V to 1.40V for mainstream kits
AMD EXPO
- Designed exclusively for DDR5 on AM5 socket
- Up to two EXPO profiles per kit
- EXPO-optimized kits are tuned for AMD’s Zen architecture and CCX topology
- Often features tighter timings at the same speed compared to XMP equivalents
- Sweet spot remains DDR5-6000 CL30 for gaming, as confirmed by AMD’s own testing
- Supports both FCLK 1:1 mode (up to 6000 MT/s) and 1:2 mode (beyond 6000 MT/s)
The critical difference: AMD platforms benefit from maintaining a 1:1 Infinity Fabric Clock (FCLK) ratio to the memory clock when possible, minimizing latency penalties. This is why DDR5-6000 remains the golden standard for AM5 gaming, even though faster kits exist. Intel doesn’t have this constraint and can scale performance more linearly with higher speeds.
Pre-Overclock Checklist: What You Need
Before entering BIOS, gather these essentials:
- Stability Testing Software: TestMem5 (free, portable), Karhu RAM Test (paid, ~$10), or MemTest86 (free)
- Monitoring Tool: HWiNFO64 (free) to track temperatures and voltages in real-time
- BIOS Update: Ensure your motherboard BIOS is current. Manufacturers regularly improve memory compatibility
- Adequate Cooling: DDR5 modules with heatspreaders dissipate heat more effectively. Passive airflow from case fans is usually sufficient for daily use up to 1.40V
- Backup Plan: Know how to clear CMOS (battery removal or jumper) if overclock settings fail to POST
- RAM Specification Sheet: Download your kit’s datasheet from the manufacturer to understand rated specs and timings
Step 1: Enter BIOS and Locate Memory Settings
Restart your PC and enter BIOS setup (usually Delete, F2, or F12 depending on motherboard manufacturer). Navigate to the memory configuration section—names vary by vendor:
- ASUS: Ai Tweaker → Memory Configuration
- MSI: OC Settings → Memory Configuration
- Gigabyte: Overclocking → Memory Settings
- ASRock: OC Tweaker → Memory Configuration
Look for an option labeled “XMP” (Intel), “EXPO” (AMD), or “Profile.” Most boards display available profiles; select Profile 1 first. Do not attempt manual overclocking before testing the manufacturer’s profile.
Step 2: Enable XMP/EXPO Profile
Once in memory settings:
- Select “XMP Profile 1” (Intel) or “EXPO Profile 1” (AMD)
- Confirm the displayed speed, timings, and voltage match your kit’s specifications (found on the box or datasheet)
- Some boards auto-adjust voltage; verify it doesn’t exceed 1.40V
- Save and exit BIOS (usually F10 or specific “Save & Exit” option)
Your PC will restart with the new memory profile applied. If you hear continuous beeping or see no POST activity within 30 seconds, your motherboard failed to boot—this is normal for aggressive profiles or incompatible silicon. See the troubleshooting section below.
Step 3: First Stability Test (30–60 Minutes)
Once Windows loads, open a stability testing tool. For beginners, we recommend TestMem5 with the default or “Extreme” profile:
- Download TestMem5 from testmem5.com (portable .exe)
- Run it and select “Default” or “Extreme” profile
- Click “Start Test”
- Let it run for 30–60 minutes
TestMem5 will cycle through memory access patterns (patterns 0–12) designed to catch instability. If you see “Error” or “Failed,” your overclock is unstable. Proceed to the troubleshooting section. If the test completes without errors, your EXPO/XMP profile is stable for gaming.
For a deeper dive into memory testing methodologies, see our guide on system validation for high-end builds, which covers Karhu RAM Test, OCCT Linpack, and multi-stage testing procedures.
Step 4: Validate with Additional Tools
Professional overclockers use multiple tools to confirm stability. After passing TestMem5, run:
Karhu RAM Test (Recommended)
More aggressive than TestMem5 and better at detecting intermittent errors. Run for 2 hours or until you see errors:
- Download from karhusorter.com
- Select your total RAM capacity
- Click “Start Test”
- Monitor for errors in real-time
OCCT Linpack
Tests memory under heavy computational load. Run for 1–2 hours:
- Download OCCT (free, occt.alwaysdata.net)
- Select “Linpack” from the stress test menu
- Choose test duration (60–120 minutes)
MemTest86 (Boot-Level Testing)
Ultimate validation, but slower. Use after Karhu/OCCT pass:
- Download MemTest86 to USB drive
- Boot from USB and select “Test Mode”
- Run for 4–8 hours or overnight
Step 5: Monitor Temperatures and Voltages
While testing, open HWiNFO64 in the background:
- Download from hwinfo.com
- Run in “Sensors Only” mode
- Look for “DIMM” temperature readings
- Monitor “CPU Package,” “CPU Package PPT,” and “Motherboard” voltages
Safe Operating Ranges for DDR5:
- DIMM Temperature: Below 50°C under load. Above 50°C, module voltage is degrading faster
- Memory Voltage (VDD/VDDQ): Up to 1.40V for 24/7 operation, 1.45V for weekend overclocking
- Termination Voltage (VDDQ): Stays within ±5% of VDD
If temperatures exceed 50°C during testing, reduce voltage by 0.025V and retest. Poor airflow is the most common culprit; ensure case fans blow across RAM heatspreaders.
Manual Overclocking: Going Beyond EXPO/XMP
Once you’ve validated the manufacturer profile, advanced users can fine-tune timings and frequencies for additional performance. This section assumes you’ve already passed a 1-hour TestMem5 test on your stock EXPO/XMP profile.
Conservative Manual Tuning (0–5% Speed Gain)
Edit these settings in BIOS, one change at a time, testing after each modification:
- Increase Memory Speed: Bump from 6000 to 6100 MT/s, test 30 min. If stable, try 6200. Stop when TestMem5 fails
- Tighten Primary Timings: Reduce CAS Latency (CL) by 1 step (e.g., CL30 → CL29), increase voltage by 0.025V, test 30 min
- Adjust tRCD/tRP: Reduce by 1–2 clocks, increase voltage by 0.025V, test 30 min
Example Safe Profile (AM5 Ryzen 7 7700X):
DDR5-6100 CL29-38-38-96 @ 1.42V → Test → If stable, next: DDR5-6200 CL30-39-39-96 @ 1.42V
Advanced: FCLK 1:1 Ratio Tuning (AM5 Only)
The Infinity Fabric Clock (FCLK) dramatically impacts latency on AM5 platforms. When FCLK locks 1:1 with the memory clock divider, latency is minimized. Beyond 6000 MT/s, most AM5 boards default to 1:2 mode, doubling effective latency:
- In BIOS, locate “Infinity Fabric Clock Override” or “FCLK”
- Set manually to 3000 MHz (1:1 with DDR5-6000)
- Test stability at DDR5-6000
- Push memory speed to 6100–6200 and set FCLK to match (3050–3100 MHz)
- Stress test for 2+ hours; FCLK instability causes immediate crashes
Most silicon won’t maintain 1:1 stable above 3050 MHz FCLK. Attempting this can require significant voltage increases (1.50V+ CPU I/O die voltage) and risks permanent damage. We recommend staying within the 1:1 envelope at 6000 MT/s or accepting 1:2 mode at 6400+.
For more on CPU thermal management during memory overclocking, see our guide to budget gaming CPUs and their recommended cooling solutions.
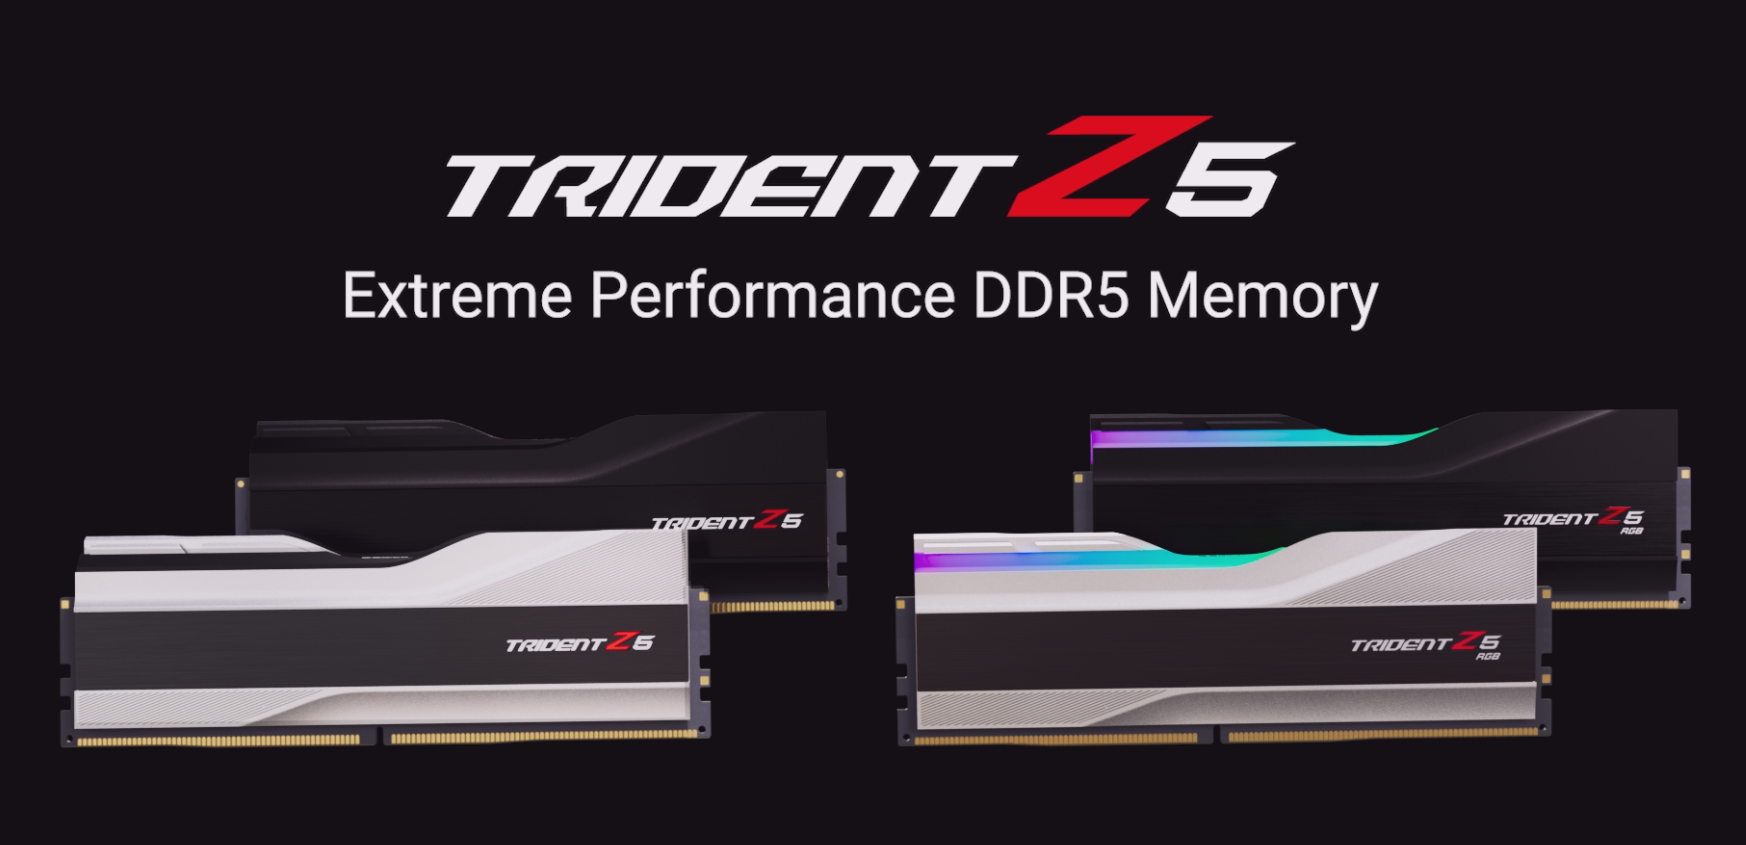
Recommended Memory Kits for Safe Overclocking
These DDR5 kits are verified stable at stock EXPO/XMP and offer excellent overclocking headroom:

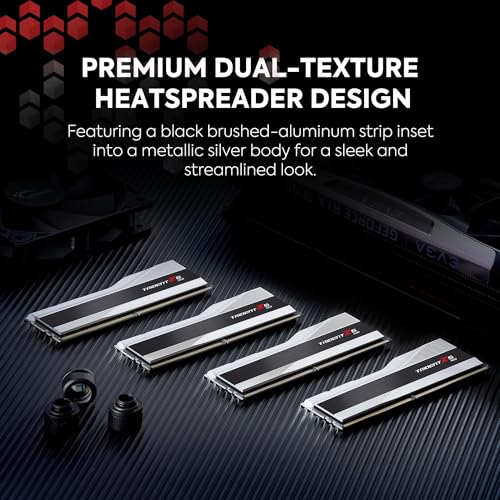
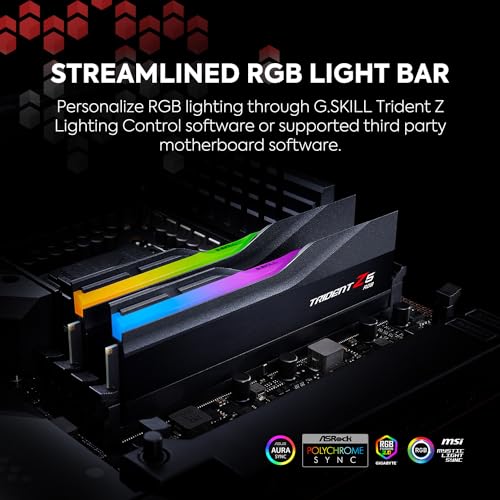
G.SKILL Trident Z5 Neo RGB Series DDR5 RAM (AMD Expo) 64GB (2x32GB) 6000MT/s CL30-40-40-96 1.40V Desktop Computer Memory U-DIMM - Matte Black (F5-6000J3040G32GX2-TZ5NR)


As an Amazon Associate we earn from qualifying purchases. Product prices and availability are accurate as of the date/time indicated.

Kingston FURY Beast 32GB (2x16GB) 6000MT/s DDR5 CL30 Desktop Memory | AMD EXPO | Kit of 2 | KF560C30BBEK2-32


As an Amazon Associate we earn from qualifying purchases. Product prices and availability are accurate as of the date/time indicated.

G.SKILL Trident Z5 RGB Series DDR5 RAM (Intel XMP 3.0) 32GB (2x16GB) 7200MT/s CL34-45-45-115 1.40V Desktop Computer Memory U-DIMM - Metallic Silver (F5-7200J3445G16GX2-TZ5RS)


As an Amazon Associate we earn from qualifying purchases. Product prices and availability are accurate as of the date/time indicated.

G.SKILL Trident Z5 RGB Series DDR5 RAM (Intel XMP 3.0) 96GB (2x48GB) 6400MT/s CL32-39-39-102 1.35V Desktop Computer Memory U-DIMM - Matte Black (F5-6400J3239F48GX2-TZ5RK)


As an Amazon Associate we earn from qualifying purchases. Product prices and availability are accurate as of the date/time indicated.


All kits listed above ship with validated timings and are tested extensively by overclockers. G.Skill Trident Z5 Neo kits are particularly well-suited for AM5 FCLK tuning due to tight timings. Corsair Vengeance kits offer broad compatibility across Intel platforms.
Common Errors and Troubleshooting
No POST After Enabling EXPO/XMP
Symptom: Motherboard beeps continuously or never reaches Windows.
Fix:
- Power off and unplug PC
- Remove CMOS battery for 30 seconds, reinsert, and power back on (clears overclocking settings)
- Enter BIOS and enable XMP Profile 2 or reset to stock speeds
- Update motherboard BIOS to latest version and retry
- If still failing, RAM may be incompatible; contact manufacturer support
WHEA_UNCORRECTABLE_ERROR BSOD
Symptom: Random blue screen with “WHEA_UNCORRECTABLE_ERROR” during gaming or stress testing.
Root Cause: Memory voltage too low for the frequency/timings, or unstable FCLK ratio.
Fix:
- Decrease memory speed by 100 MT/s (e.g., 6100 → 6000) or disable manual FCLK override
- Increase voltage by 0.025V and retest
- Run MemTest86 (boot mode) for 4+ hours to rule out module defect
- Reseat RAM: power off, remove modules, reinsert firmly until retention clips snap
Memory_Management BSOD
Symptom: Blue screen with “MEMORY_MANAGEMENT” error code.
Root Cause: Timing parameters too aggressive (CAS latency, tRCD, tRP) or insufficient termination voltage (VDDQ).
Fix:
- Revert to default EXPO/XMP profile
- If using manual timings, relax primary timings by +2–3 (e.g., CL30 → CL32)
- Increase VDDQ by 0.05V to match VDD voltage
- Run TestMem5 for 1 hour before resuming gaming
TestMem5 Errors After 30+ Minutes
Symptom: Test runs fine for 30 minutes, then shows errors.
Root Cause: Voltage sag under sustained load or borderline timing stability.
Fix:
- Increase voltage by 0.025V
- Reduce memory speed by 50 MT/s
- Run Karhu RAM Test for 2 hours (more aggressive than TestMem5)
Stability Only at 1.45V+ Voltage
Symptom: Can’t achieve 6100+ MT/s without reaching 1.45V, which is the tuning ceiling.
Root Cause: Silicon lottery; your specific RAM modules have lower overclocking potential.
Fix:
- Accept 6000 MT/s CL30 as your final profile (still excellent for gaming)
- Try tightening timings instead of pushing speed (e.g., DDR5-6000 CL28)
- Increase FCLK slightly to 3050 MHz for FCLK-to-memory synchronization benefits
- Don’t exceed 1.45V for daily use; sustained high voltage shortens DIMM lifespan
Stress Test Duration Guidelines
How long should you test before considering an overclock “stable for daily use”? Here’s the professional standard:
| Test Duration | Confidence Level | Recommended Use |
|---|---|---|
| 30–60 minutes (TestMem5 Default) | 75% | Quick validation after EXPO/XMP enable |
| 2 hours (Karhu RAM Test) | 90% | Safe for gaming; daily driver |
| 4–8 hours (MemTest86 + OCCT) | 95%+ | High-confidence overclock; competitive gaming |
| 24+ hours (multiple tools, varied workloads) | 99%+ | Extreme overclocking; world record attempts |
For most gamers, 2 hours of Karhu testing is the sweet spot: thorough enough to catch 99% of instability, but not so time-consuming that you abandon the hobby.
Voltage Safety Limits for DDR5 (2026 Standards)
DDR5 JEDEC specification allows up to 1.35V for rated operation. Most mainstream kits ship at 1.40V, and tuning-focused kits are rated to 1.45V. Here’s the breakdown:
- 1.35V: JEDEC standard; guaranteed safe indefinitely
- 1.40V: Safe for 24/7 operation; all mainstream EXPO/XMP kits ship here
- 1.42–1.45V: Tuning envelope; safe for weekend or daily use with passive cooling
- 1.50V+: Extreme overclocking only; expect accelerated degradation
Each 0.05V increase above 1.40V roughly doubles voltage stress on the DIMM semiconductor. Avoid sustained operation above 1.45V unless the kit is explicitly rated for it (check datasheet). A DDR5-6000 CL30 kit at 1.40V will outlast a DDR5-7200 kit at 1.50V by years.
To learn more about pairing RAM with high-end CPUs, check our guide to gaming motherboards and their memory controller quality, which directly impacts how high you can push frequency and voltage safely.
Frequently Asked Questions
Q: Will overclocking void my RAM warranty?
A: Enabling the manufacturer’s EXPO or XMP profile will NOT void your warranty. These are official profiles tested by the memory vendor. Manual overclocking beyond EXPO/XMP specification may violate warranty terms, depending on the manufacturer. If you encounter issues after manual tuning, revert to stock settings before contacting support.
Q: How much does DDR5 RAM degradation occur at 1.45V?
A: Controlled testing suggests minimal degradation over 2–3 years at 1.45V with passive airflow. However, exceeding 1.50V or running above 50°C will accelerate degradation measurably. If you’re concerned about lifespan, stick to 1.40V or lower. A $100 RAM upgrade is cheaper than the mental cost of worrying about stability.
Q: Can I undo an overclock if something goes wrong?
A: Yes, absolutely. RAM is not permanently altered by overclocking. If your overclock is unstable, simply reset BIOS settings (via CMOS battery removal) or boot from Safe Mode and adjust timings back to stock. DDR5 modules at 1.35–1.40V for extended periods will show zero permanent changes. Even extreme overclocking at 1.50V for a month is recoverable by returning to stock voltage.
Q: Is DDR5-7200 worth overclocking from DDR5-6000?
A: Not for most gamers. DDR5-6000 CL30 delivers superior effective latency (10 nanoseconds) compared to DDR5-7200 CL34 (9.5 ns), and gaming FPS gains from 7200 MHz are typically under 5%. The extra cost, power consumption, and heat generation rarely justify the marginal performance uplift. Focus on tuning 6000 MHz tighter (CL28–CL30) rather than pushing frequency. For detailed benchmarks, see our comparison.
Q: What’s the difference between TestMem5 anta777 config and the default preset?
A: The anta777 “Absolute” configuration tests with more aggressive bit patterns and longer test cycles, catching instability that default profiles might miss. After passing default TestMem5 (30–60 min), run anta777 config for 2+ hours if you want maximum confidence. Most gamers don’t need this; default TestMem5 catches 95% of real-world instability.
Final Safety Checklist
Before you begin, print or bookmark this checklist:
- ☐ BIOS is updated to latest version
- ☐ CMOS battery removal method is understood
- ☐ TestMem5, Karhu, or MemTest86 downloaded and tested on a USB drive
- ☐ HWiNFO64 installed for real-time monitoring
- ☐ Memory kit datasheet downloaded (voltage and timing specs noted)
- ☐ Case has adequate airflow; RAM heatspreaders aren’t blocked
- ☐ Initial test duration set to 30 minutes (conservative)
- ☐ Plan for 2-hour extended testing before daily driver use
- ☐ Voltage will not exceed 1.40V for first 48 hours
Conclusion
Overclocking DDR5 RAM in 2026 is safer, simpler, and more rewarding than ever. The combination of factory-validated EXPO and XMP profiles, accessible stability testing tools, and broad manufacturer support means even beginners can achieve a 5–10% performance uplift in a single afternoon. Start with your kit’s EXPO or XMP profile, validate with TestMem5 and Karhu, and monitor temperatures closely. If you’re targeting higher speeds or tighter timings, increase voltage conservatively, test thoroughly, and respect the 1.40V daily limit to preserve your investment for years of gaming ahead.
The path from stock DDR5-6000 to tuned DDR5-6000 CL28 or 6100 CL30 requires only patience and the right tools—no specialized knowledge needed. Your gaming performance, frame time consistency, and system responsiveness will thank you.
Related Articles
Looking for more on this topic? Browse the hand-picked guides below — each one applies the same scoring rubric used in this review.


