Affiliate disclosure: As an Amazon Associate we earn from qualifying purchases. This post contains affiliate links — if you buy through them we may earn a small commission at no extra cost to you. This never affects our recommendations.
A clean Windows 11 installation is the best way to start fresh on your gaming PC. Whether you’re building a new rig, upgrading your storage, or recovering from a failing OS, this comprehensive guide walks you through every step—from BIOS configuration to post-install driver setup and gaming optimization. By following this guide, you’ll ensure maximum gaming performance, proper hardware detection, and a stable foundation for your gaming PC.
In a hurry? See the top-rated How to Install Windows 11 on a Gaming PC deals available right now:
🛒 Check How To Install Windows 11 On A Gaming Pc Prices on Amazon →System Requirements & Hardware Compatibility
Before you begin, verify that your gaming PC meets Windows 11’s hardware requirements. Microsoft’s requirements aren’t arbitrary—they’re designed to protect your system and enable modern gaming features like DLSS 3 Frame Generation and DirectStorage.
Essential Hardware Requirements:
- Processor: Intel Core 8th Gen or newer, or AMD Ryzen 2000 series or newer
- TPM 2.0: Trusted Platform Module 2.0 (Intel PTT or AMD fTPM)—mandatory for security and gaming features
- Secure Boot: UEFI firmware with Secure Boot capability
- RAM: Minimum 4GB (8GB+ recommended for gaming)
- Storage: Minimum 64GB free space (256GB+ NVMe SSD recommended)
- GPU: DirectX 12 capable graphics (integrated or discrete)
According to Microsoft’s official Windows 11 documentation, TPM 2.0 is mandatory and cannot be bypassed for supported installations. If your PC is from 2018 or later, it likely has TPM 2.0 already—it’s often just disabled in BIOS.
Pre-Installation Checklist & BIOS Preparation
Successful Windows 11 installation starts before you download any files. Proper BIOS configuration prevents boot failures, driver conflicts, and stability issues down the line.
Pre-Installation Checklist:
- ☐ Backup all critical data to external storage (this is destructive!)
- ☐ Check motherboard BIOS version and update to latest firmware
- ☐ Disable overclocking (XMP/DOCP) before installation—re-enable after Windows boots
- ☐ Enable TPM 2.0 in BIOS (check Intel PTT or AMD fTPM in Security settings)
- ☐ Enable Secure Boot (set to Standard, not Custom)
- ☐ Switch to UEFI boot mode (disable Legacy/CSM)
- ☐ Prepare USB installation media (32GB+ USB 3.0+ drive)
- ☐ Have Windows 11 product key ready (or plan to use local account)
Why disable XMP during installation? XMP (Intel) and DOCP (AMD) are memory overclocking profiles. Unstable RAM timing can cause the Windows 11 installer to crash or hang. Once Windows fully boots and your NVIDIA/AMD GPU drivers are installed, you can safely re-enable XMP.
BIOS Navigation Guide by Motherboard:
| Manufacturer | Boot Menu Key | BIOS Key | Common TPM Location |
|---|---|---|---|
| ASUS | F8 / F11 | Delete / F2 | Advanced → Security → TPM Device / PTT |
| MSI | F11 | Delete | Settings → Security → TPM / PTT |
| Gigabyte | F12 | Delete / F2 | Settings → Security → Trusted Computing → TPM |
| ASRock | F11 | Delete / F2 | Advanced → Security → Trusted Computing → PTT / fTPM |
Download Windows 11 & Create Bootable USB Installation Media
Windows 11 installation media creation is straightforward with Rufus, a free tool that gives you precise control over your installation options.
Step 1: Download Windows 11 ISO
- Visit Microsoft’s official Windows 11 download page
- Click “Download Now” under Windows 11 Installation Media
- Select your language and click “Confirm”
- Choose 64-bit (you need 64-bit for modern gaming)
- Save the ISO file to your computer (5.3GB file size)

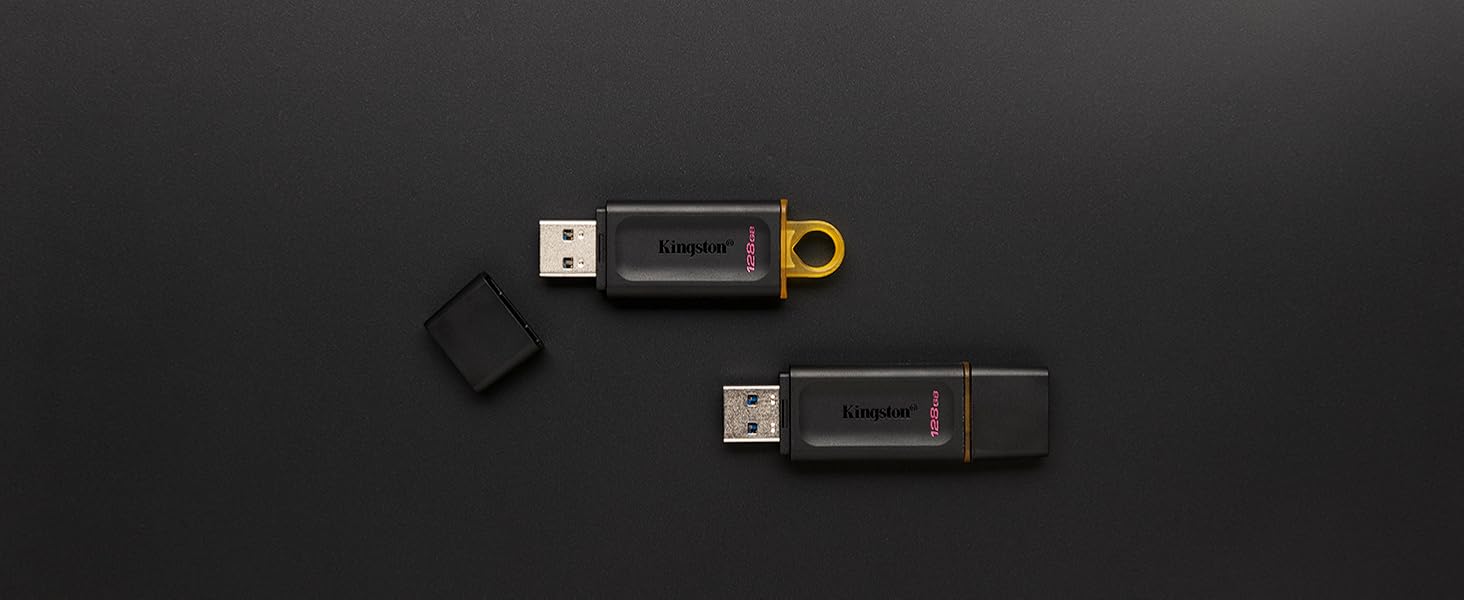
Prime Kingston DataTraveler Exodia 32GB USB 3.2 Flash Drive DTX/32GB

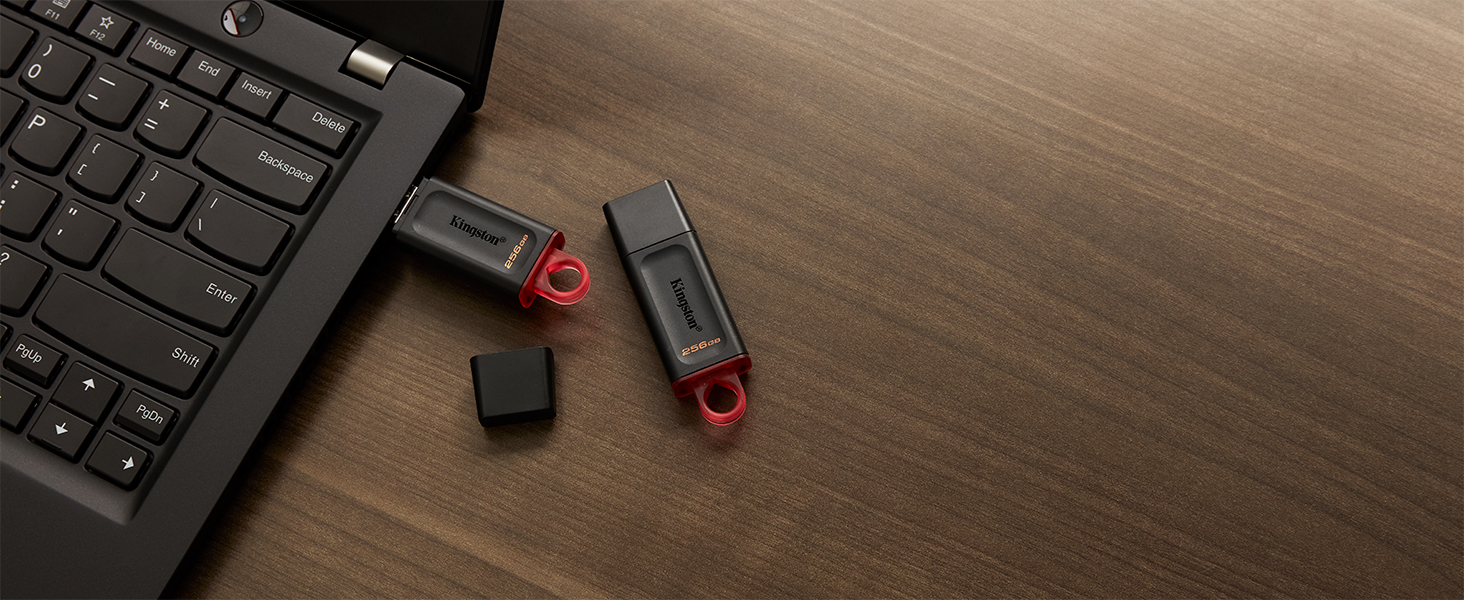


As an Amazon Associate we earn from qualifying purchases. Product prices and availability are accurate as of the date/time indicated.
Kingston DataTraveler USB 3.2 32GB—Fast, reliable, and essential for clean installs. Download speeds: 200MB/s.Step 2: Create Bootable USB with Rufus
- Download Rufus (free) from https://rufus.ie/
- Insert your 32GB+ USB drive into your PC
- Launch Rufus and select your USB drive in the “Device” dropdown
- Under “Boot selection,” click “SELECT” and choose the Windows 11 ISO you downloaded
- Check these options:
- ☐ Check “Remove requirements for an online Microsoft account” if you want a local account
- ☐ Set “Image option” to “Standard Windows 11 installation”
- ☐ Partition scheme: GPT (required for Secure Boot)
- ☐ File system: NTFS
- Click “START” and confirm the warning (USB will be erased)
- Wait 5-10 minutes for the bootable USB to finish
According to 2026 Windows 11 setup guides, Rufus’s “Remove requirements for an online Microsoft account” option is the most reliable way to force a local account during OOBE (Out-of-Box Experience). This avoids Microsoft’s persistent prompts to link a Microsoft account.
Boot from USB & Windows 11 Installation
Step 3: Boot Your PC from USB and Start Setup
- Insert the bootable USB drive into your gaming PC
- Restart your computer
- Immediately press the boot menu key (F8, F11, F12, or Del depending on your motherboard—see table above)
- Select your USB drive from the boot menu (it may show as “UEFI: [USB Brand]”)
- Wait for Windows Setup to load (30-60 seconds)
Step 4: Windows Setup Wizard—Critical Decisions
- Language & Region: Select your language, time zone, and keyboard layout → Click “Next”
- Product Key Entry:
- If you have a Windows 11 Pro key, enter it here
- If using a local account (Rufus bypass), click “I don’t have a product key” → Continue with Windows Home → Upgrade to Pro later if needed
- Installation Type: Select “Custom: Install Windows only (advanced)”
- Disk Partitioning:
- Select your target drive (usually “Drive 0”)
- If upgrading, delete all existing partitions (this is a clean install)
- Click “Next”—Windows will auto-create system partitions (EFI, Recovery, C:)
- Wait for installation: Windows copies files (5-15 minutes depending on USB/SSD speed)
- Automatic restarts: Your PC will restart several times—do not unplug USB yet
Windows 11 Out-of-Box Experience (OOBE) & Account Setup
Step 5: Complete OOBE Without Microsoft Account
- When OOBE loads, you’ll see “Let’s connect you to a network” → Click “I don’t have internet” (if prompted)
- Click “Continue with limited setup”
- Create your local account:
- Username: Enter any username (e.g., “gamer”)
- Password: Set a strong password or leave blank for passwordless login
- Confirm Password: Re-enter or leave blank
- Security questions (optional): Skip or answer
- Privacy settings: Disable telemetry toggles for better privacy and performance
- Wait for final setup to complete (3-5 minutes) and boot into Windows 11 desktop
Local Account vs Microsoft Account: A local account is perfectly fine for gaming and gives you full offline access. You can always link a Microsoft account later under Settings → Accounts. For gaming, local accounts avoid Microsoft’s OneDrive sync delays and provide faster boot times.
Post-Installation: Essential Drivers & Updates
Windows 11 has generic drivers, but your gaming hardware—GPU, chipset, audio—needs proper drivers for stability and full performance. Do NOT skip this step.
Step 6: Install Critical Drivers
- Windows Update First:
- Press Win+I to open Settings
- Go to System → Windows Update
- Click “Check for updates” and install all available updates
- Restart if prompted
- Repeat until “You’re up to date” appears
- Chipset Drivers:
- Intel: Download from Intel Download Center (search for your chipset, e.g., “Z690”)
- AMD: Download from AMD Support (search for your chipset, e.g., “X870”)
- Install chipset drivers first—they affect all hardware communication
- GPU Drivers:
- NVIDIA: Download from NVIDIA Driver Downloads
- If upgrading from another GPU, run DDU (Display Driver Uninstaller) in Safe Mode first
- Install latest Game Ready or Studio driver
- AMD Radeon: Download from AMD Radeon Software
- Use Radeon Software Adrenalin for gaming optimization
- NVIDIA: Download from NVIDIA Driver Downloads
- Audio Drivers:
- Download realtek or manufacturer-specific audio drivers from your motherboard maker’s support page
- Windows Update often includes these, but OEM versions add surround sound and equalizer options
- Network/Ethernet Drivers:
- Download from your motherboard’s support page (usually bundled in “LAN driver” or “Network drivers”)
- Restart your PC after each major driver installation
Why so many drivers? Windows 11’s inbox drivers are generic. Manufacturer drivers unlock full hardware features: GPU drivers enable ray-tracing, NVIDIA Reflex, and DLSS; chipset drivers optimize power management and I/O performance; audio drivers enable surround sound and spatial audio for gaming.
Step 7: Windows 11 Product Key Activation
- Press Win+I → System → About → Find “Activation” section
- If your key wasn’t pre-installed via Rufus, click “Change product key”
- Enter your Windows 11 Pro (or Home) product key
- If activation fails, check your internet connection and try again
- Once activated, you’ll see “Windows is activated” in green

Cooler Master NR2 Pro Gaming PC – AMD RYZEN 7 9800X3D, NVIDIA GeForce RTX 5070 Ti 16GB, 32GB DDR5 6000MHz, 2TB Gen4 M.2, Windows 11, V850 SFX Gold PSU, Compact Mini ITX Desktop PC


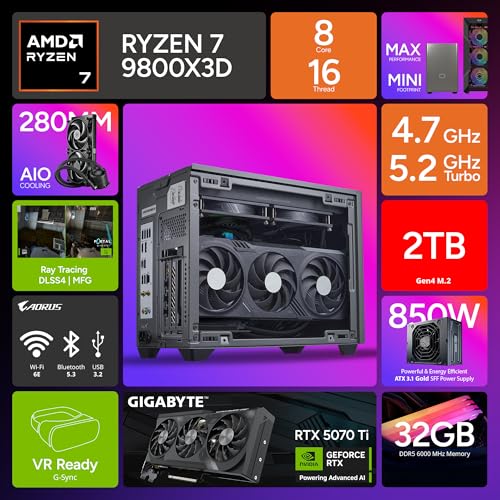
As an Amazon Associate we earn from qualifying purchases. Product prices and availability are accurate as of the date/time indicated.
Genuine Microsoft Windows 11 Pro retail key—32/64-bit, lifetime license. Upgrade from Home for Hyper-V virtualization, BitLocker encryption, and Group Policy management.Gaming Optimization: Game Mode, HAGS, DirectStorage & Post-Deblot
Windows 11 includes gaming features that dramatically improve frame rates, latency, and load times. Enabling these features is essential for competitive gaming and modern AAA titles.
Step 8: Enable Game Mode & Gaming Settings
- Press Win+I → Gaming → Game Mode
- Toggle “Game Mode” ON (notifies Windows to prioritize gaming process resources)
- Go to Gaming → Game Bar
- Toggle “Game Bar” ON (use Win+G in-game for overlay)
- Go to System → Display → Advanced Display
- Scroll to “Graphics” → Click “Graphics Settings”
- Under “GPU Preference,” set your dedicated GPU (NVIDIA/AMD) to “High Performance”
What is Game Mode? According to 2026 Windows 11 gaming optimization guides, Game Mode suspends background processes like Windows Update, Cortana, and indexing while you’re gaming. This freed-up CPU headroom translates to 2-5% FPS improvement in CPU-limited titles.
Step 9: Enable Hardware-Accelerated GPU Scheduling (HAGS)
- Press Win+I → System → Display → Advanced Display
- Scroll down and click “Manage GPU memory reservation”
- Toggle “Hardware-accelerated GPU scheduling” ON
- Restart your PC
HAGS Impact: HAGS moves GPU scheduling from CPU to the GPU itself, reducing latency by 1-3ms and improving frame pacing. It’s mandatory for NVIDIA DLSS 3 Frame Generation. Supported on NVIDIA RTX 30-series and newer, AMD RDNA 2 and newer.
Step 10: DirectStorage Setup (NVMe SSDs Only)
- Ensure your OS is installed on an NVMe SSD (SATA SSDs don’t support DirectStorage)
- Press Win+I → Gaming → Storage
- Toggle “Optimize for games installed on this storage” ON
- Check “DirectStorage” status—if enabled, your SSD supports it
Why NVMe for DirectStorage? DirectStorage allows games to stream high-res textures directly from NVMe to GPU VRAM, bypassing the CPU and system RAM. Games like Forza Horizon 5 and Senua’s Saga: Hellblade II use DirectStorage to eliminate texture pop-in. Requires PCIe 4.0 or 5.0 SSD.

Samsung 990 PRO SSD 2TB NVMe M.2 PCIe Gen4, M.2 2280 Internal Solid State Hard Drive, Seq. Read Speeds Up to 7,450 MB/s for High End Computing, Gaming, and Heavy Duty Workstations, MZ-V9P2T0B/AM


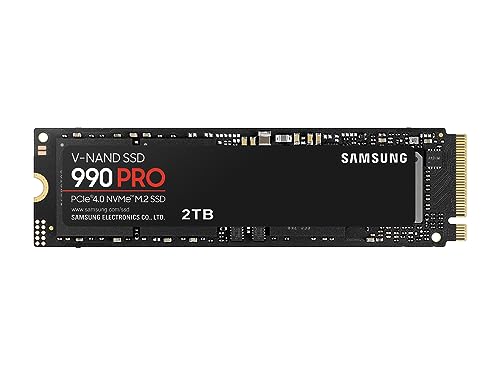
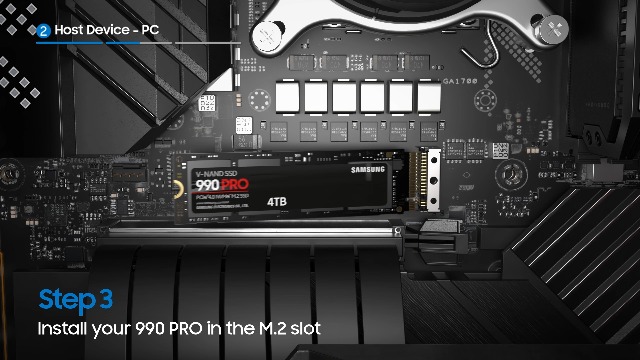
As an Amazon Associate we earn from qualifying purchases. Product prices and availability are accurate as of the date/time indicated.
Samsung 990 PRO 2TB NVMe SSD—DirectStorage-ready, 7,450 MB/s read speeds. Paired with Windows 11 and GPU drivers, this enables sub-second game load times and real-time texture streaming in 2026 AAA titles.Power Plan & CPU Performance Settings
Step 11: Optimize Power Plan for Gaming
- Right-click the battery icon (bottom-right) → Power settings
- Go to Power → Power plan
- Select “Balanced” (Windows 11’s Balanced plan is optimized for gaming—no need to switch to High Performance)
- Click “Change plan settings” → “Change advanced power settings”
- Expand “Processor power management” and set:
- Minimum processor state: 5%
- Maximum processor state: 100%
- Expand “PCI Express” and set Link State Power Management to “Off” (prevents VRAM latency)
- Apply and close
Balanced vs High Performance: Windows 11’s Balanced power plan includes low-latency gaming tweaks that High Performance lacked. Balanced now dynamically scales CPU and GPU clocks for gaming workloads without the heat/power waste of older High Performance plans.
Re-Enable Overclocking & XMP/DOCP
Step 12: Safe Overclocking Re-Enable
- Restart your PC and enter BIOS (Delete/F2/F12 at boot)
- Navigate to Overclocking or Memory settings
- Intel: Enable XMP Profile 1
- AMD: Enable DOCP Profile 1
- Apply and restart into Windows
- Boot into Windows and verify stability in MemTest86 or MemTest86+ (free, run for 1 pass = 5 minutes)
- If stable, you’re done. If crashes occur, disable XMP/DOCP and troubleshoot RAM timing in BIOS
Why XMP after installation? XMP is safe on modern motherboards and RAM. Windows 11’s installer uses conservative memory timing to ensure compatibility across all PCs. Once your OS and drivers are stable, re-enabling XMP gains 2-5% performance without risk (profile 1 is manufacturer-tested).
Optional: Debloat & System Cleanup
Windows 11 includes optional apps (Cortana, News/Weather, Microsoft Teams, Xbox app) that consume background resources. Debloating is optional but recommended for gaming-focused PCs.
Step 13: Safe Debloat with ChrisTitusTech Script
- Visit ChrisTitusTech WinUtil on GitHub
- Click “Code” → “Download ZIP” and extract
- Right-click winutil.ps1 → “Run with PowerShell”
- Accept the execution policy prompt
- Under “Tweaks” tab, check only:
- ☐ Remove Microsoft Edge (optional)
- ☐ Remove Windows Subsystem for Android
- ☐ Disable Copilot (leave if you like AI assistant)
- Leave Game-related tweaks unchecked (don’t disable DirectX, Game Bar, etc.)
- Click “Run Tweaks” and restart
Network & Storage Configuration
Step 14: Optimize Network for Gaming
- Press Win+I → Network & Internet → Ethernet
- Scroll to “Advanced Network Settings” → “Network Adapter Options”
- Right-click your network adapter → “Properties”
- Click “Configure…” and go to “Advanced” tab
- Look for “Flow Control” or “Priority & VLAN” and disable flow control if present (reduces latency)
- Apply and restart networking
- For Wi-Fi gaming: use 5GHz or Wi-Fi 6 band (2.4GHz is slower and more prone to interference)
Frequently Asked Questions (FAQ)
Q1: Can I install Windows 11 without TPM 2.0?
A: Technically yes, using Rufus’s bypass option, but it’s not recommended. TPM 2.0 is mandatory for full security (Windows Hello, BitLocker), and future Windows updates may block installations without it. Microsoft confirmed in 2026 that TPM 2.0 will remain required. If your PC lacks TPM, consider upgrading the motherboard or using Windows 10 instead.
Q2: Do I need Windows 11 Pro for gaming?
A: No. Windows 11 Home is fully sufficient for gaming. Pro adds features like BitLocker encryption, Hyper-V virtualization, and Group Policy management—useful for productivity but not for gaming. Save the money unless you need these enterprise features.
Q3: Should I enable Secure Boot during install?
A: Yes. Secure Boot prevents rootkits and firmware attacks. It has no performance impact and is essential for modern gaming security (some anti-cheat systems require it). Make sure UEFI firmware is set to Standard Secure Boot, not Custom.
Q4: What if Windows 11 won’t boot after installation?
A: Common causes: (1) BIOS not set to UEFI mode—restart and check BIOS boot mode; (2) USB still connected—remove USB and restart; (3) SATA/NVMe not detected—restart BIOS and check storage controller settings; (4) Corrupted USB—recreate bootable USB with Rufus. If still failing, check motherboard manual for CMOS reset instructions.
Related Guides & Further Reading
For deeper hardware and performance optimization, check out these companion guides on GamingPCGuru:
- Best NVMe SSD for Gaming 2026 — Top-tier storage that pairs perfectly with Windows 11’s DirectStorage
- How to Build a Gaming PC 2026 — Step-by-Step — Complete build guide from component selection to first boot
- Best Motherboards for Gaming — Choose boards with native TPM 2.0 and excellent BIOS support
- Best $700 Budget PC Build — Affordable gaming rig that runs Windows 11 smoothly
- How to Overclock DDR5 RAM Safely — Advanced memory tuning after Windows 11 is stable
Recommended Peripherals & Upgrades
To pair with your fresh Windows 11 installation, consider these gaming essentials:
Conclusion
You’ve successfully installed Windows 11 on your gaming PC. Your system is now optimized with proper drivers, security settings, and gaming features enabled. Windows 11’s Game Mode, HAGS, and DirectStorage are designed for modern gaming—from competitive esports to 4K ultra settings on AAA titles. Your next steps: keep Windows Update enabled for security patches, monitor GPU temperatures with HWiNFO64, and enjoy ultra-low latency and fast game load times. The combination of a clean Windows 11 install, up-to-date drivers, and proper BIOS settings provides the most stable, performant foundation for gaming in 2026.
Related Articles
Looking for more on this topic? Browse the hand-picked guides below — each one applies the same scoring rubric used in this review.


