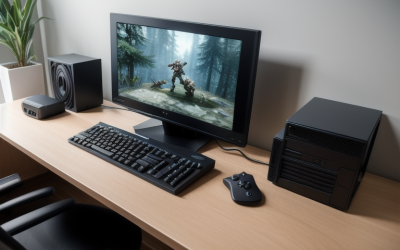
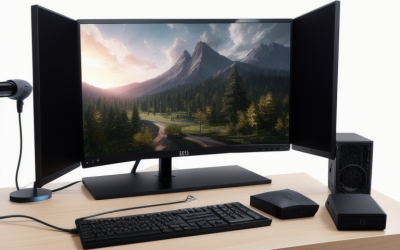
To organize a gaming desk, place the monitor first at a comfortable distance, put your keyboard and mouse where your elbows rest naturally, then route every cable along one back edge or under the desk into a single power strip and a few labeled bundles. Storage comes last: give each item one home, such as a headset stand, a drawer for small gear, and a shelf or riser for things you reach for rarely.
This guide walks through layout, cable paths, and storage in a sensible order, so each step supports the next. It works for a small apartment desk or a large corner setup. Desk sizes, mounting hardware, and electrical rules vary, so check the weight and size limits printed on your desk, monitor arm, and power strip, and follow the instructions that come with them.
Start With a Clean Slate and a Plan
Unplug everything and clear the desk surface. A fresh start shows you how many cables, devices, and accessories you really have, and it makes it much easier to decide what belongs on the desk and what can live elsewhere.
Sort Into Daily, Occasional, and Rare
Group every item by how often you use it. Daily items include the monitor, keyboard, mouse, headset, and drink coaster. Occasional items might be a controller, microphone, or webcam. Rare items include spare cables, manuals, and old devices. Daily items earn desk space, occasional items get a nearby drawer or shelf, and rare items go in a box away from the desk.
Measure Before You Buy Anything
Measure the desk depth, the free width, and the space below. A deeper desk gives more room to push the monitor back to a comfortable distance, while a shallow one may need a monitor arm to free the surface. Measure the clearance behind the desk too, so the tower and cables are not squeezed against a wall.
Build the Layout Around Ergonomics
Monitor Position
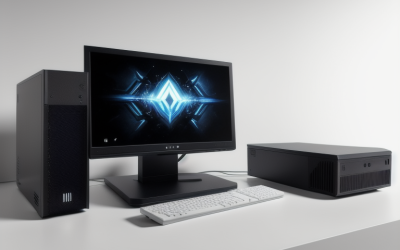
Place the monitor roughly an arm’s length away, with the top of the screen near eye level so you look slightly down rather than up. With two monitors, put the main one directly in front and the second at a slight angle. A monitor arm frees desk space and makes it easier to adjust height, but check that the arm supports the weight and size of your display.
Keyboard and Mouse
Keep the keyboard centered on the main monitor, or slightly offset if you use the mouse more. Your elbows should rest close to your body, with wrists straight. A large desk mat gives the mouse a consistent surface and keeps the keyboard from sliding, and it can hide a bit of the desk edge cables.
PC Placement
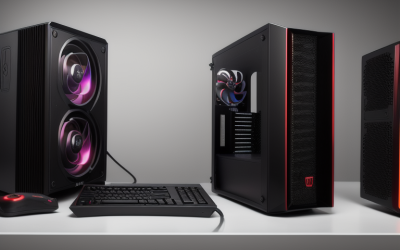
Put the tower where air can reach its intake and exhaust. A spot on the floor on a hard surface or small stand helps keep dust lower than carpet, while a desktop position saves bending but takes space. Leave breathing room around the vents, and avoid enclosed cabinets without ventilation.
Cable Paths That Actually Stay Tidy
Good cable management is mostly about planning the route, not buying many gadgets. Decide where power enters, where cables gather, and where devices need to move.
- Mount or place one power strip with surge protection near the back or underside of the desk, within easy reach of the wall outlet.
- Run all power cables to the strip first, leaving a little slack where devices might move, such as monitor arms.
- Bundle data cables for the monitor, keyboard, and audio into a loose group, and keep them separate from power cables where you can.
- Use hook-and-loop ties instead of tight plastic ties, so you can change cables later without cutting anything.
- Attach a cable tray, clips, or adhesive channels along the back edge or under the desk, and lay each bundle into them.
- Label each plug end with a small tag so you know which cable is which when you need to swap something.
- Switch everything on and check that nothing is stretched, pinched, or bent sharply before you close up the routing.
Safety notes: do not plug one power strip into another, do not exceed the rated load printed on the strip, keep strips and adapters uncovered so they can shed heat, and keep cables away from chair wheels and foot traffic. Do not bend cables tightly or crush them against sharp edges. If a cable or plug feels hot, unplug it and replace it.
Peripherals, USB Hubs, and Audio
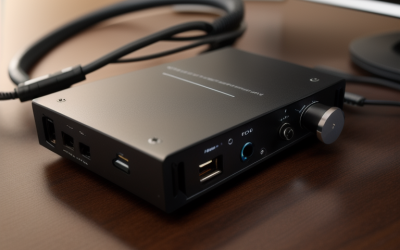
Many desks end up with a tangle of USB cables for the keyboard, mouse, headset, webcam, and microphone. A powered USB hub placed on the desk edge or under it gives you one thick cable to the PC and short runs to each device, and it makes plugging in a controller or drive easier. Keep the hub in a spot where it can be reached but will not collect drinks or crumbs. If you use speakers, place them at ear height and away from the monitor stand so cables do not cross your workspace.
Lighting and Screen Glare
Position the desk so that windows are to the side of the monitor rather than behind or in front of it, and use a lamp or light bar that lights the desk without reflecting on the screen. Route lighting cables with the rest of the power cables, and avoid stacking adapters in a spot where heat can build up.
Layout Options by Desk Size
| Desk Type | Layout Idea | Cable Approach | Storage Approach |
|---|---|---|---|
| Compact desk | Single monitor on an arm, keyboard on the surface, tower on the floor | One power strip under the desk, short cables, one clip run | Wall hooks, a headset hook, a slim drawer unit nearby |
| Standard desk | One or two monitors, desk mat, small speaker or stand | Cable tray along the back, bundled data cables | Headset stand, controller dock, a desk drawer or shelf riser |
| Large or corner desk | Main monitor centered, secondary zone for console or streaming gear | Two separate cable runs, one per zone, joined at a single power strip | Shelving above, drawers below, labeled bins for rare items |
Storage Ideas That Keep the Surface Clear
Headset, Controller, and Small Gear
Give the headset a stand or hook so the cable does not drape over the desk. A controller dock or a small tray keeps the gamepad in reach but off your mouse area. A shallow drawer organizer holds batteries, cables, and spare adapters so they do not reappear on the desk.
Vertical Space
Shelves, monitor risers, and wall-mounted rails use space above the desk. Place heavier items low and check the wall type and the weight rating for any mounted shelf before you load it. Leave a gap so that airflow around devices is not blocked.
Under-Desk Space
Use under-desk trays for the power strip and adapters, and a hook for bags or a spare headset. Make sure that nothing under the desk blocks your legs or the PC intake. Keep the floor path clear so you can clean and reach plugs.
Maintenance and Small Habits
An organized desk stays organized only if it is easy to maintain. Wipe the surface and the desk mat regularly, dust the tower’s filters, and recheck cables whenever you add a new device. When you buy something new, decide where it will live and how its cable will route before you open the box. A quick reset at the end of each week, returning items to their places and straightening the cable bundles, prevents slow clutter build-up.
Before You Finish Checklist
- Monitor distance and height feel comfortable.
- Keyboard and mouse sit where your elbows rest naturally.
- Power runs to one rated, uncovered power strip.
- Cables are labeled, bundled loosely, and not pinched or stretched.
- Every daily item has a place, and rare items are stored away.
Common Mistakes
- Buying organizers before measuring the desk and counting your gear.
- Pulling cable ties so tight that they pinch the cables or make later changes difficult.
- Daisy-chaining power strips or overloading them with high-power devices.
- Blocking the PC vents with a cabinet, wall, or stacked items.
- Placing the monitor too close or too high, leading to eye and neck strain.
Related guides
- Aio Liquid Coolers For High Performance Gaming
- How To Lower Input Delay In Competitive Shooters
- Wireless Gaming Headsets Under 100 For Pc
Frequently Asked Questions
Should the PC sit on the desk or the floor?
Either can work if airflow is good. The floor usually frees surface space, but it can collect more dust, so use a hard surface or small stand and clean the filters regularly.
Are monitor arms worth it?
They free desk surface and make height and distance easier to adjust. Check the weight rating, the screen size limit, and the desk edge thickness before you decide.
How do I hide cables without making them hard to change?
Use trays, clips, and hook-and-loop ties instead of permanent channels, and label the ends. That way you can swap a device without taking the whole bundle apart.
How many cables can one power strip handle?
It depends on the strip’s rating and the total power use of the devices plugged in. Read the printed limit, avoid daisy-chaining, and use a separate outlet for high-power gear if needed.