Updated November 2026 – What do you need to build a gaming PC? Eight core parts (CPU, motherboard, memory, graphics card, storage, power supply, case and cooler), a Phillips screwdriver, a Windows licence and a USB drive, and a compatibility check before you buy anything.
Building your own desktop is mostly shopping with a checklist and then assembling parts that are designed to fit together. This guide lists every part and tool, the compatibility checks that prevent returns, the order of assembly, and how it differs from searching for a custom-built gaming PC or a custom gaming laptop.
What You Need to Build a Gaming PC: The Parts Checklist
| Part | Job | Match it to |
|---|---|---|
| CPU | Runs the game logic and feeds the GPU | Motherboard socket and chipset, BIOS version |
| Motherboard | Connects everything | CPU socket, memory type, case form factor |
| Memory (RAM) | Holds the game and Windows working data | Board’s DDR generation and supported speeds |
| Graphics card (GPU) | Draws the frames | Case clearance, PSU wattage and connector |
| Storage (NVMe SSD) | Windows and game installs | Free M.2 slots on the board |
| Power supply (PSU) | Powers all parts | GPU recommendation, connectors, case size |
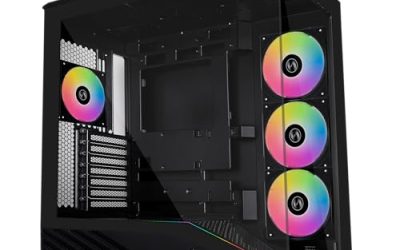
| Case | Holds and cools the parts | Board size, GPU length, cooler height, radiator support |
| CPU cooler | Keeps the processor in its temperature range | Socket mounting, case height or radiator space |
The Core Parts Explained
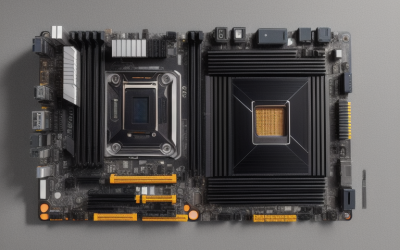
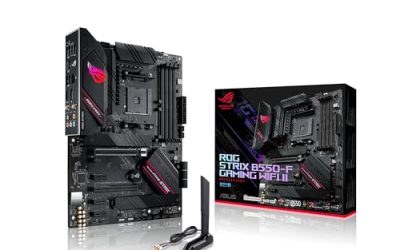
CPU and motherboard
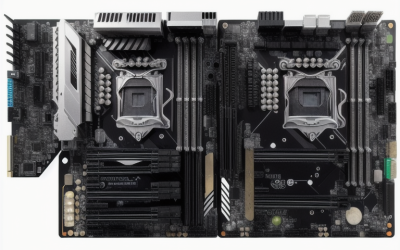
Current platforms are AMD’s AM5 socket, used by Ryzen 7000 and Ryzen 9000 chips on B650, X670 and X870 boards, and Intel’s LGA1851 socket for Core Ultra 200S processors. Both use DDR5. A matching socket does not always guarantee the board will boot a newer chip out of the box, so check the maker’s CPU support list and whether a BIOS update is needed. Do not assume any socket guarantees upgrades for years; the maker’s own statement is the only reliable source.
Memory
Current boards use DDR5 only, so DDR4 sticks will not fit. Guides for AM5 builds commonly pair Ryzen 9000 with DDR5-6000 kits and 32 GB as a comfortable baseline, though 16 GB can run many games. Check the board’s qualified memory list and install two sticks in the slots the manual names for dual-channel operation.
Graphics card
For gaming this is the part that sets your resolution and frame rate. Current options include Nvidia’s GeForce RTX 50-series and AMD’s Radeon RX 9000 series. Confirm the card’s length against the case’s maximum GPU length, the number of slots it occupies, and the power connector it uses. Cards that use the 12V-2×6 connector need a power supply that provides it natively. Follow both the GPU maker’s and PSU maker’s guidance, seat the plug fully and stop using it if you see heat damage.
Storage
An NVMe M.2 SSD is the normal choice for Windows and games. Check how many M.2 slots the board has and which run at which PCIe speed. Some boards share bandwidth between slots and SATA ports, which the manual explains.
Power supply
One guide gives rough wattage ranges of about 550 to 650 watts for budget 1080p builds, 700 to 850 for mid-range 1440p builds and 1000 to 1200 for high-end 4K builds. Always follow the GPU maker’s recommended PSU rating, which is the authoritative number. An ATX 3.0 or newer unit is needed for a native 12V-2×6 cable. Never open a power supply; the capacitors can hold a dangerous charge even when unplugged.
Case and cooler
Check the board form factor (ATX, micro-ATX or Mini-ITX), the maximum GPU length, the maximum air cooler height and any radiator size limits. As an illustration, one guide lists a popular airflow case supporting GPUs up to 350 mm and coolers under 160 mm; your own case will list its own figures. Old AM4 coolers may need a new mounting kit for AM5, since mounting differs even though the maker says heatsink height is the same.
Tools and Extras You Need
- A Phillips number 2 screwdriver covers nearly everything; a smaller Phillips number 0 helps for M.2 screws. A magnetic tip keeps screws from dropping into the case.
- Thermal paste only if your cooler does not include it, plus isopropyl alcohol and a lint-free cloth.
- Cable ties or Velcro straps and a small cutter.
- A USB flash drive of at least 8 GB for the Windows installer, with the chipset and graphics drivers copied across.
- Optional anti-static wrist strap; touching bare metal on the case achieves a similar purpose.
- A monitor, keyboard, mouse and a spare cable, because the PC does not include them.
Operating System: Windows Licence or Something Else
You need an operating system. Windows 11 is the default for gaming because game and anti-cheat support is broadest. A digital licence from an old PC may transfer when you activate on the new one, though Microsoft’s activation rules apply. Linux is a free alternative and works for many games, with caveats around anti-cheat, so it is not a drop-in replacement for every library. If you searched for a custom OS for gaming, the practical answer is a clean Windows install with drivers from the makers rather than a modified build from an unknown source, which can carry security risks.
Compatibility Checks Before You Buy
- CPU socket matches the board, and the board’s BIOS supports that exact CPU.
- Memory generation and speed match the board’s list.
- Board size fits the case.
- GPU length and thickness fit the case, and the PSU has the right connectors.
- Cooler height or radiator fits the case, including front and top mounting.
- Enough M.2 slots and SATA ports for your storage.
- Wi-Fi and Bluetooth: some boards include them, others need a card.
- Front panel ports on the case match the board headers, such as USB-C.
A parts-picker website that flags incompatibilities is a good safety net, but still read the board manual.
Order of Assembly
- Unbox on a clean table. Unplug the power supply from the wall before touching internals.
- Install the CPU into the board, then memory and the M.2 drive, outside the case if the cooler needs it.
- Check case standoffs line up with the board’s holes, then mount the board.
- Mount the cooler, with paste if needed, and connect its fan to the board header.
- Install the PSU, route the cables, and connect the 24-pin, CPU power and front-panel leads.
- Seat the GPU, connect its power cables fully and use any support bracket.
- Check that no cable crosses a fan, then close the case.
- Boot into the BIOS, check memory speed, install Windows, then drivers and updates.
BIOS changes such as memory profiles are fine to apply conservatively, but overclocking can void warranties and cause instability. If the PC does not boot, re-seat memory, check the CPU power connector and consult the board’s debug lights or manual.
Custom-Built Gaming PCs and Gaming Laptops
Searches for the best custom gaming PC in a given country usually mean a store that assembles parts for you. Building it yourself offers more control over parts, while a builder adds assembly and a combined warranty. Laptops cannot be built the same way; they are bought as complete units with limited upgrades, typically memory and storage. When comparing builders, look at the parts list: named motherboard, PSU model and cooler matter more than the case lights.
Matching the Parts to Your Games and Resolution
Parts should follow the screen you play on. For 1080p at high refresh rates, a mid-range GPU and a six or eight core CPU are usually enough, and spending more on the graphics card than the processor tends to help most. For 1440p, step up the GPU tier and make sure the PSU has headroom. For 4K, the graphics card and its cooling become the centre of the build, and the case needs room for a large card. Reviewers commonly report that esports shooters lean on the CPU and fast memory, while visually heavy single-player games lean on the GPU, so decide which kind you play most. Use only the specifications the makers list, and read independent reviews of the exact models you shortlist.
Budget Planning Without Chasing a Number
Split spending into tiers. In a budget tier, pick an entry GPU, 16 GB of memory and a single NVMe drive. In a mid-range tier, aim for a strong GPU, 32 GB of DDR5 and a quality PSU. In a premium tier, prioritise the GPU, a larger case with good airflow, and a motherboard with more connectivity. Wherever you land, do not skimp on the power supply, because it feeds every other part, and keep a little room in the plan for a better GPU later.
Common Mistakes First-Time Builders Make
- Forgetting the CPU power cable at the top of the motherboard, which stops the PC from booting.
- Plugging the monitor into the motherboard output instead of the graphics card.
- Leaving the plastic film on the cooler base, or forgetting paste when the cooler needs it.
- Not seating memory fully; it should click into place on both sides.
- Mixing up case fan direction so intake and exhaust fight each other.
- Skipping the BIOS update when the board needs one for a newer processor.
- Not enabling the memory profile, which leaves RAM running below its rated speed.
After the First Boot
Install Windows from your USB drive, then install the chipset driver from the motherboard maker and the graphics driver from the GPU maker. Run Windows Update, enable the memory profile in the BIOS, and confirm all fans spin. Watch temperatures during your first games using monitoring tools from the makers. If anything looks unusual, shut down, unplug the PC and re-check the connections; contact the part maker or a technician if you cannot find the cause. Keep receipts and warranty information in one folder.
Frequently Asked Questions
What do I need to build a PC for gaming?
A CPU, motherboard, memory, GPU, SSD, power supply, case and cooler, plus a screwdriver, a Windows installer on USB and a monitor. Check compatibility between each part first.
Can I build my own CPU?
No. A CPU is manufactured by chip makers, and people build computers by choosing and installing one. You pick a processor that matches your motherboard.
Is building a PC cheaper than buying a prebuilt?
It depends on the market and parts. DIY gives you part choice and often better components in key places, but a prebuilt can include assembly and warranty. Compare part lists rather than the headline.
Do I need a Windows licence?
You need an operating system. Windows 11 requires a licence to fully activate, while Linux is free. Many users pick Windows for the widest game support.
What is the hardest part of building a PC?
Usually cable routing and checking compatibility. The physical assembly is straightforward when you follow the manuals. Take your time with the CPU and power connectors.
How long does it take to build a gaming PC?
A first build often takes a few hours including Windows and driver setup. Allow extra time for BIOS updates or troubleshooting.
Sources Consulted
Intel’s gaming PC build guide, several 2026 build guides covering AM5, DDR5 and PSU connectors, and compatibility checklists from parts retailers’ blogs. Always confirm specific parts against the maker’s own specification pages.