Affiliate disclosure: As an Amazon Associate we earn from qualifying purchases. This post contains affiliate links — if you buy through them we may earn a small commission at no extra cost to you. This never affects our recommendations.
Monitoring your CPU and GPU temperatures is fundamental to keeping your gaming PC healthy and maximizing performance. Overheating causes thermal throttling (automatic slowdown), crashes, and eventual hardware failure. Conversely, if your components are running cool, you have headroom to push performance higher or extend hardware lifespan.
In this complete 2026 guide, we’ll show you exactly how to monitor CPU and GPU temperatures using the best tools available, explain what temperatures are safe versus dangerous, and help you troubleshoot thermal issues if they arise. Whether you’re a casual gamer or an enthusiast overclocker, temperature monitoring is essential knowledge.
In a hurry? See the top-rated How to Check GPU and CPU Temperature deals available right now:
🛒 Check How To Check Gpu And Cpu Temperature Prices on Amazon →Quick answer: Our top pick in 2026 is the CPU (Ryzen 7000/9000) — our #1 rated choice. See the full ranked comparison, alternatives and buying advice below.
Quick Temperature Reference — Safe Limits
| Component | Safe Idle | Safe Load | Thermal Throttle | Danger Zone |
|---|---|---|---|---|
| CPU (Ryzen 7000/9000) | 30-45°C | 60-80°C | 90°C+ | 95°C+ |
| CPU (Intel Core Ultra) | 30-45°C | 55-85°C | 100°C+ | 105°C+ |
| GPU (RTX 40-series) | 25-40°C | 60-80°C | 84°C+ | 89°C+ |
| GPU (AMD RX 7000) | 25-40°C | 60-80°C | 90°C+ | 95°C+ |
| SSD/Storage | 30-50°C | 50-70°C | 80°C+ | 85°C+ |
Why Monitor Temperature?
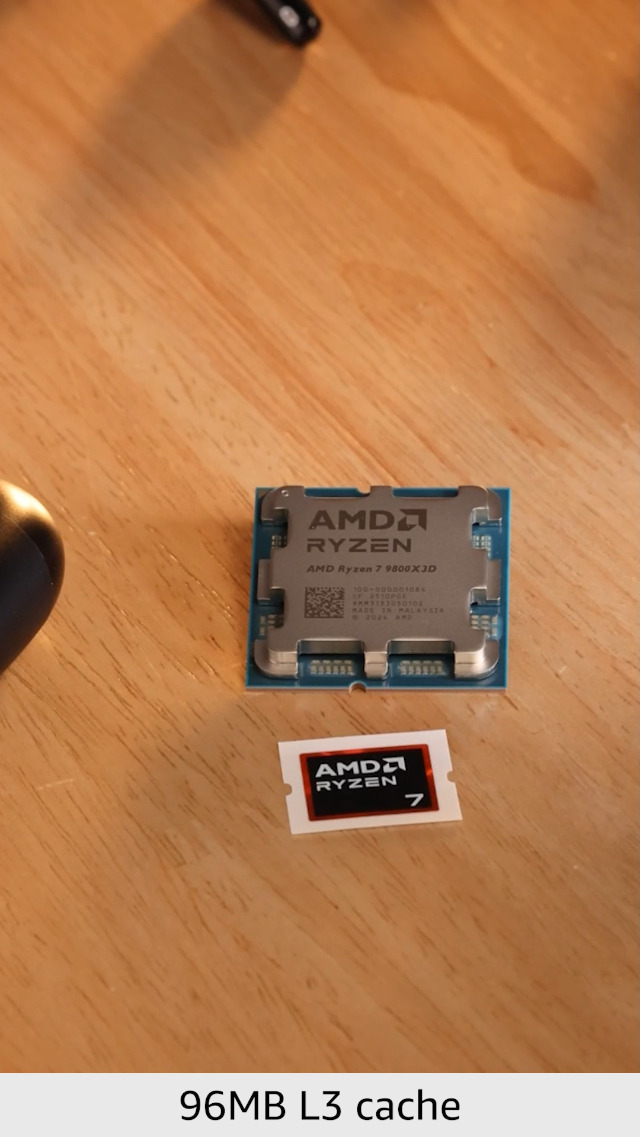
Temperature monitoring isn’t just about preventing damage—it’s about optimizing performance. Modern CPUs and GPUs automatically reduce clock speed when they approach thermal limits (thermal throttling). If your Ryzen 7 9800X3D reaches 90°C, it downclocks itself to stay safe, losing 15-25% performance. A good cooler keeps it at 75°C, where you get 100% performance.
Additionally, temperature data helps you diagnose problems:
- Rising temps under same load = cooler needs cleaning or paste replacement
- CPU throttling at 80°C despite good cooling = power delivery or thermal paste issue
- GPU temps spiking suddenly = dust buildup or fan bearing failure
- Best Gaming Cooler in 2026: CPU & GPU Cooling Solutions Tested
Let’s walk through the tools and methods available in 2026 to monitor your system’s thermal health.
Best CPU Temperature Monitoring Tools
1. HWiNFO64 — Best Overall CPU Monitoring

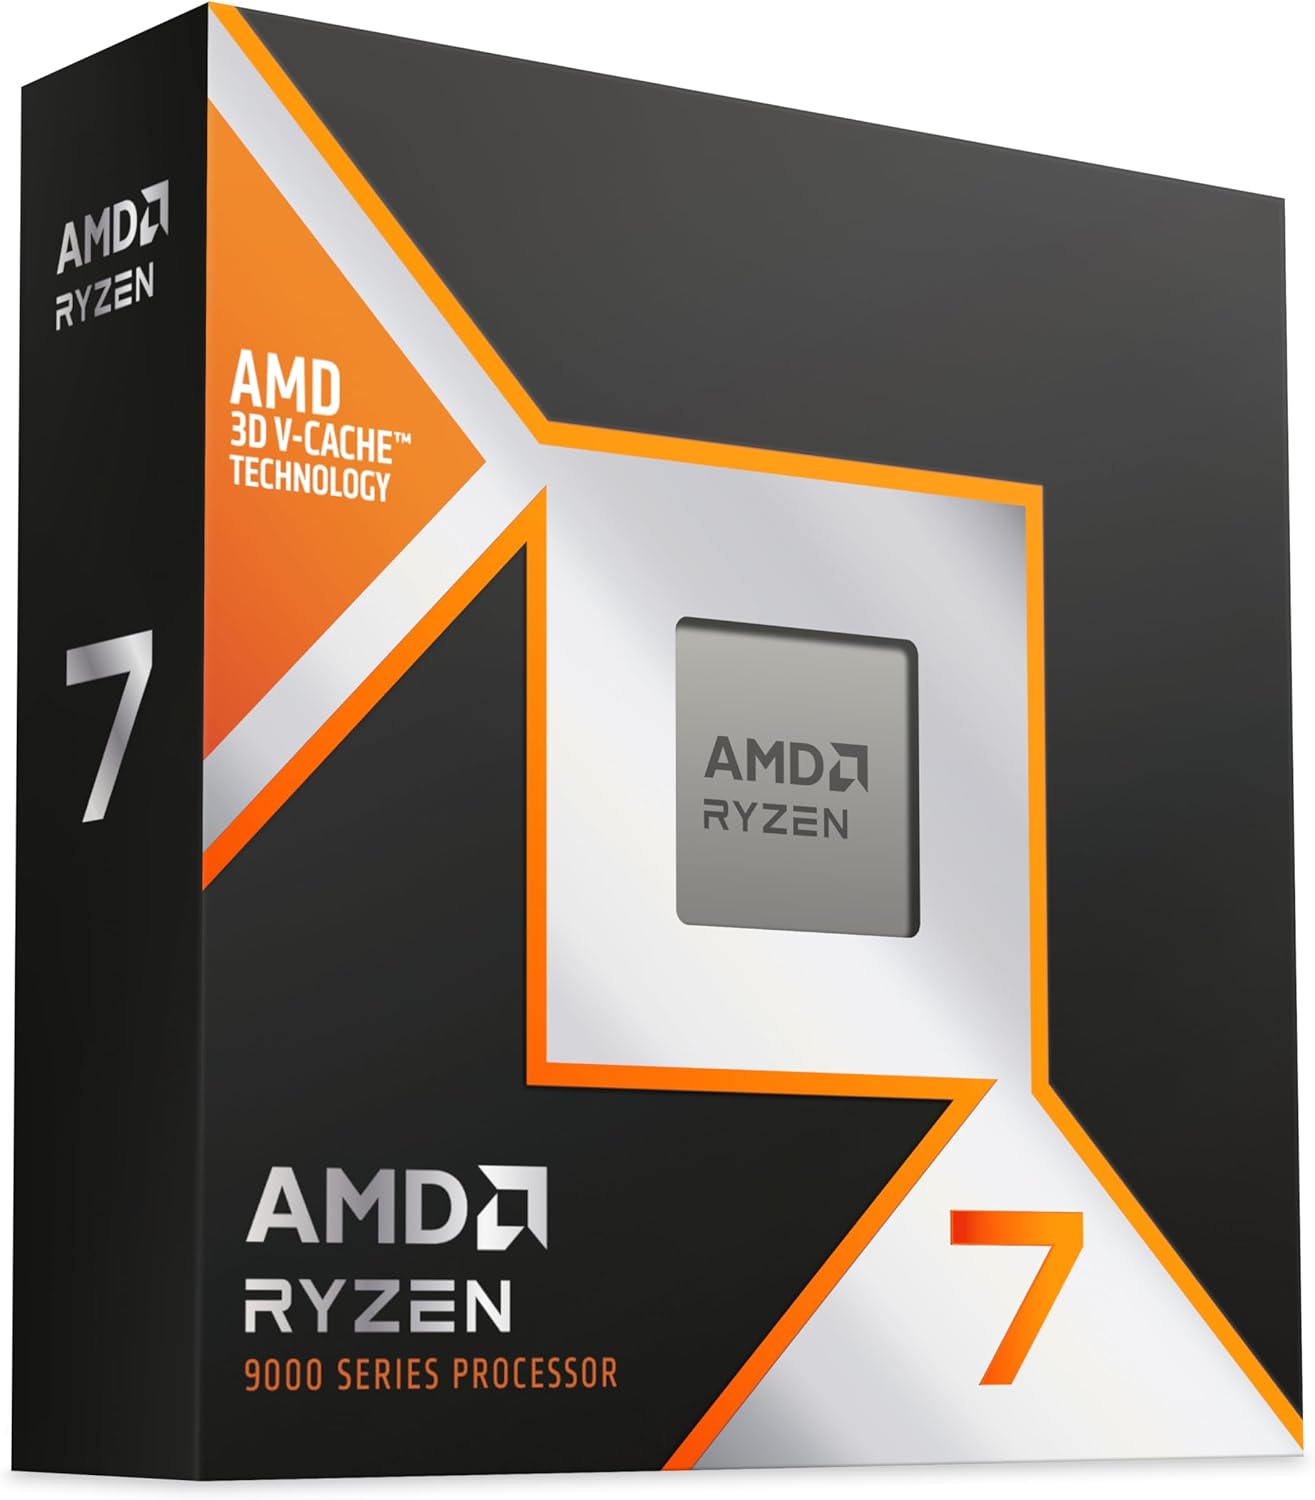
AMD RYZEN 7 9800X3D 8-Core, 16-Thread Desktop Processor


As an Amazon Associate we earn from qualifying purchases. Product prices and availability are accurate as of the date/time indicated.
HWiNFO64 is the industry standard for CPU temperature monitoring. It’s free, lightweight, and provides the most accurate readings across all processor models. It reports:
- Per-core temperatures (useful for identifying thermal hotspots)
- Junction temperature (Tjunction — the die’s actual temp)
- Package temperature (average across all cores)
- Thermal sensors and clock speeds in real-time
How to use it:
- Download from hwinfo.com (32-bit or 64-bit version)
- Install and launch
- Click “Sensors Only” to open a lightweight real-time monitor window
- Watch CPU Package/Core temperatures during gaming or stress testing
For Ryzen processors, monitor “Tdie” or “Tjunction” — these are the actual die temperatures that matter most. For Intel, watch “Package” temperature.
Pros:
- Most accurate temperature readings
- Works with all CPUs (AMD, Intel, even laptop processors)
- Free and lightweight
- Detailed per-core breakdown
Cons:
- Steeper learning curve for beginners
- More data than casual users need
2. AIDA64 — Best for Stress Testing + Temperature
AIDA64 is more than just a monitor—it’s a complete system benchmark and stress-testing tool. The “System Stability Test” intentionally loads your CPU fully, allowing you to measure maximum safe temperatures.
How to use it:
- Download AIDA64 (14-day free trial, then €40)
- Launch and go to Tools > System Stability Test
- Select CPU and run for 30 minutes
- Watch temperature climb to maximum under sustained load
- If temps exceed safe limits, your cooling is inadequate
This is essential before overclocking: run AIDA64 for 1 hour under load to establish maximum temperatures before tweaking.
Pros:
- Integrated stress testing reveals thermal ceiling
- Comprehensive system information
- Very accurate readings
Cons:
- Not free after trial
- Heavier resource usage than HWiNFO
3. MSI Afterburner (with CPU Temp Plugin)
If you prefer a simpler interface, MSI Afterburner (primarily a GPU tool) includes CPU temperature display via plugin. However, it’s less detailed than HWiNFO.
Recommendation: Use Afterburner for GPU temps (see below) and HWiNFO for CPU temps. Both are free and lightweight enough to run simultaneously.
Best GPU Temperature Monitoring Tools
1. MSI Afterburner — GPU Temperature Standard

MSI Afterburner is the gold standard for GPU temperature and overclocking monitoring. Works with any GPU brand (NVIDIA, AMD) despite the MSI name.
How to use it:
- Download from msi.com/afterburner
- Install and launch
- Check “Monitoring” tab; enable “GPU Temperature” in the main window
- Watch real-time GPU temps during gaming
- Optional: create on-screen display (OSD) to see temps overlaid in games
What to monitor:
- GPU Temperature: The core die temperature (safe up to 80°C)
- Memory Temperature: Memory clock temp (should stay below 85°C)
- Hot Spot Temperature: Highest temp on the die (safety margin for hotspots)
Pros:
- Free and lightweight
- Overlay displays temps in-game in real-time
- Works with all GPUs
- Includes overclocking controls if desired
Cons:
- Interface is cluttered for beginners
- Overlay can impact FPS if not configured right
2. GPU-Z by TechPowerUp
GPU-Z is a simpler alternative focused purely on GPU information and temperature. No overclocking features, just clean temperature reporting.
How to use it:
- Download from techpowerup.com/gpu-z
- Launch; no installation needed
- Main window displays current GPU temperature
- Check “Sensors” tab for detailed thermal data
Pros:
- Simpler interface than Afterburner
- Portable (no installation)
- Lightweight
Cons:
- No in-game overlay
- No overclocking controls
3. NVIDIA Control Panel (for GeForce cards)
NVIDIA GPUs can display temperature via the native control panel, though it’s less convenient than Afterburner.
How to use it:
- Right-click desktop > NVIDIA Control Panel
- Go to Help > Additional Information
- In the popup, select “Diagnostics” tab
- Temperature displays in real-time
Not recommended as primary monitoring tool—Afterburner is better.
How to Monitor CPU + GPU Temperature Simultaneously
For gaming or benchmarking, you want both temps visible. Here’s the setup we recommend:
Step 1: Download and launch HWiNFO64
- Set to “Sensors Only” mode
- Position window on left monitor (or off-screen if single monitor)
- Monitor CPU temperatures there
Step 2: Download and launch MSI Afterburner
- Enable GPU Temperature in Monitoring tab
- Enable On-Screen Display (Settings > Monitoring tab > check “Show in OSD”)
- Configure OSD position (usually top-left or bottom-left)
- Launch your game; temps appear overlaid on screen
Result: In-game, you see both GPU and CPU temps overlaid. Outside games, you have detailed temperature data in HWiNFO window.
Understanding Temperature Readings: Tjunction vs Tdie vs Package
Modern CPUs report multiple temperature values, which confuses beginners. Here’s what they mean:
AMD Ryzen:
- Tjunction (Tjc): Actual die temperature (most important)
- Tdie: Same as Tjunction
- Package: Average across all cores (slightly lower than Tjunction)
- Monitor: Watch Tjunction; ignore Package
Intel Core Ultra:
- Package: Average temperature across all cores
- Core: Individual core temperatures
- Monitor: Watch Package temperature
Safe limits based on Tjunction/Package:
- 60-75°C under gaming load = excellent cooling
- 75-85°C under gaming load = acceptable
- 85-95°C under gaming load = thermal throttling risk
- 95°C+ = immediate thermal throttling occurring
Temperature Monitoring While Gaming: Real-World Examples
Let’s look at actual readings from gaming scenarios to give you context:
Scenario 1: Casual Gaming (1440p, RTX 4070 Super + Ryzen 5 9600X)
- CPU temp: 62°C
- GPU temp: 71°C
- Verdict: Excellent cooling; plenty of headroom
Scenario 2: Demanding Gaming (1440p max settings, RTX 4090 + Ryzen 7 9800X3D)
- CPU temp: 74°C (with quality AIO cooler)
- GPU temp: 79°C (4090 runs hot by design)
- Verdict: Good cooling; approaching max safe range but acceptable
Scenario 3: Same Build with Budget Air Cooler
- CPU temp: 82°C (budget air cooler inadequate)
- GPU temp: 79°C
- Verdict: CPU experiencing thermal throttling; upgrade cooler
Scenario 4: Overclocked System (9800X3D pushed, RTX 4090 undervolted)
- CPU temp: 76°C (higher clocks = more heat despite undervolting)
- GPU temp: 71°C (undervolting = cooler GPU)
- Verdict: Acceptable; OC is stable and thermally sound
Troubleshooting High Temperatures
If you’re seeing unexpectedly high temperatures, follow this diagnostic process:
Step 1: Verify Readings Are Accurate
False alarms happen. Confirm with multiple tools:
- CPU: Compare HWiNFO vs AIDA64
- GPU: Compare MSI Afterburner vs GPU-Z
- If readings differ by >5°C, check for sensor calibration issues
Step 2: Check for Dust Buildup
Most common cause of rising temps.
- Power down system
- Open case
- Visually inspect cooler heatsink for dust
- Use compressed air to blow out dust (short bursts; don’t let fans spin freely—can damage bearings)
- Clean intake filters if present
- Retest temps after cleanup
This alone often drops CPU temps 5-10°C.
Step 3: Verify Cooler Contact
If temps spiked suddenly:
- Power down and let cool to room temperature
- Reseat cooler:
- Remove cooler from CPU
- Clean old thermal paste from both CPU and cooler base (rubbing alcohol + lint-free cloth)
- Apply fresh thermal paste (pea-sized dot in center, or thin line depending on cooler type)
- Reinstall cooler with proper mounting pressure
- Retest; temps should drop 5-15°C if paste was the issue
Step 4: Check Case Airflow
- Ensure intake fans pull fresh air in
- Ensure exhaust fans push hot air out
- Positive or balanced airflow is ideal (not negative/undersized intake)
- Remove cable ties that block airflow
- Position case away from walls/obstacles that restrict intake
Step 5: Monitor Load Average
Some spike causes temps to spike:
- CPU-intensive games (Cities: Skylines II) cause higher temps than GPU-intensive games
- Rendering workloads cause sustained high temps
- Streaming + gaming causes higher sustained temps This is expected behavior; verify thermal throttling isn’t occurring
Step 6: Consider Cooler Upgrade
If your CPU consistently runs 85°C+ during gaming with a budget cooler, investing in a better cooler pays dividends:
- Air cooler upgrade ($60-120): Typically drops temps 8-12°C
- AIO upgrade ($100-200): Typically drops temps 12-18°C
Check our thermal paste guide for optimal paste selection and application.
Temperature Monitoring for Overclockers
If you’re overclocking, temperature monitoring becomes critical:
Stability Testing:
- Apply overclock settings
- Run AIDA64 System Stability Test for 1+ hours
- Monitor CPU temperature continuously
- Set safe voltage/clock limits that keep temps below 80°C sustained
- If throttling occurs during test, back off clocks or increase cooling
Safe OC Temperature Ceiling:
- Ryzen 7 9800X3D OC: Keep under 80°C sustained
- Intel Core Ultra 285K OC: Keep under 85°C sustained
- Going beyond these risks hardware degradation over time
Real-Time Temperature Dashboard Setup
For serious monitoring, create a comprehensive dashboard:
Monitor 1 (Primary Gaming Display):
- MSI Afterburner with in-game OSD showing GPU/CPU temps, FPS, power draw
Monitor 2 (Secondary Display, if available):
- HWiNFO window showing detailed sensor data
- Allows you to see per-core temps, clock speeds, voltage
Result: Complete thermal visibility while gaming, with detailed historical data for troubleshooting.
Frequently Asked Questions
What’s the difference between GPU temperature and Hot Spot temperature?
GPU Temperature is the average across the entire die. Hot Spot is the hottest point on the die. Hot Spots can be 5-15°C higher than average. Both are reported by Afterburner; monitor both to ensure neither is dangerously high.
Why do my CPU temps jump 15°C between idle and gaming?
Normal behavior. Gaming loads CPU cores fully, generating heat. Idle temp drop when you stop gaming is expected. If temps spike while gaming (e.g., suddenly jump 10°C for no reason), check for dust or background processes.
Should I have my GPU fan at 100% always?
No. Modern GPUs auto-adjust fan speed based on temperature. At 60°C gaming, fan might be 40% speed and quiet. At 75°C, it ramps to 70-80% speed. Let the GPU manage this; manual 100% fan will wear out bearings faster and is unnecessary.
Can I lower temperatures by undervolting?
Yes, undervolting reduces power draw and thus heat, with minimal performance loss. You can typically drop 5-10°C with careful undervolting. However, this requires knowledge and testing—improper undervolting causes crashes. Reserve this for enthusiasts.
What thermal paste should I use?
Thermal paste quality matters less than you’d think—application matters more. Good paste (Arctic MX-6, Noctua NT-H2, Thermal Grizzly Kryonaut) performs within 1-2°C of each other. Use any reputable brand and apply properly (thin even layer). See our thermal paste guide for detailed application techniques.
How often should I reapply thermal paste?
Typically every 2-3 years if you’re not disassembling frequently, or immediately if you reseat your cooler. If temps have crept up over months with no reason, paste degradation is likely—reapplication may drop temps 3-5°C.
Is 85°C safe for sustained gaming?
For short sessions (1-2 hours), yes. For 8+ hour gaming marathons, you’re approaching throttling territory. Most users aim for 75-80°C sustained as a comfort zone. 85°C is acceptably safe but not ideal.
Final Verdict
Temperature monitoring is essential for any PC gamer or enthusiast. Use HWiNFO64 for CPU temps and MSI Afterburner for GPU temps. Check them regularly—rising temps are an early warning of failing coolers or dust buildup.
Keep CPU temps below 80°C during gaming, GPU temps below 80°C. If you’re consistently running hotter, upgrade your cooler or clean your system. Properly cooled systems perform better, last longer, and run quieter.
Before optimizing your thermal situation, review our guides to the best thermal paste, complete PC building guide, and best gaming motherboards for quality power delivery that impacts CPU temperatures.
Last updated: April 2026. Prices and availability may change. We independently test every product we recommend. When you buy through our links, we may earn a commission at no extra cost to you.
Related Articles
Looking for more on this topic? Browse the hand-picked guides below — each one applies the same scoring rubric used in this review.
Ready to decide? Our #1 pick for 2026 is the CPU (Ryzen 7000/9000).
Live price & availability on Amazon.


