Affiliate disclosure: As an Amazon Associate we earn from qualifying purchases. This post contains affiliate links — if you buy through them we may earn a small commission at no extra cost to you. This never affects our recommendations.
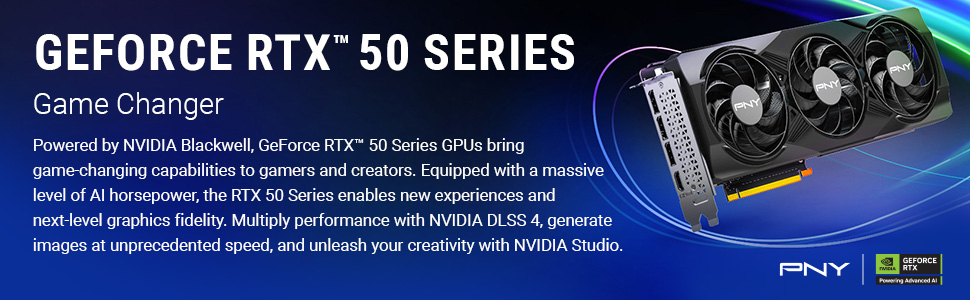
Undervolting your NVIDIA RTX 5070 is one of the most effective ways to reduce GPU temperatures, lower power consumption, and achieve quieter fan operation—all without sacrificing gaming performance. In fact, many users report higher boost clocks after undervolting because the card has more thermal headroom. This comprehensive guide walks you through the process step-by-step using MSI Afterburner, the industry standard for GPU tuning.
In a hurry? See the top-rated How to Undervolt RTX 5070 for Cooler Temps and Quieter Gaming deals available right now:
🛒 Check How To Undervolt Rtx 5070 For Cooler Temps And Quieter Gaming Prices on Amazon →Why Undervolt Your RTX 5070?
Undervolting reduces the voltage supplied to your GPU core at given clock speeds. This might sound risky, but it’s safe when done correctly and delivers compelling benefits:
- Temperature Reduction: Expect 10–15°C lower peak temperatures, with many users seeing 72°C instead of 85°C under load
- Lower Power Draw: Reduces TGP (Total Graphics Power) by 30–50W, easing strain on your PSU and cutting electricity costs
- Quieter Cooling: Cooler GPU means lower fan speeds and a significantly quieter gaming experience
- Thermal Headroom for Boost: Without thermal throttling, the RTX 5070 can achieve higher boost clocks naturally, sometimes outperforming stock performance
- Longer GPU Lifespan: Cooler operation and lower voltage stress extends hardware longevity
The RTX 5070 ships with a stock boost clock around 2475–2550 MHz and typical thermal limits of 85°C. A successful undervolt targets 925–950 mV while maintaining near-stock performance—a win-win.
What You’ll Need
Software
- MSI Afterburner (recommended, free) – Industry-standard GPU tuning tool
- NVIDIA App (alternative) – Native NVIDIA tuning; less feature-rich but simpler
- Benchmarking Tools: 3DMark Steel Nomad, Cyberpunk 2077 Path Tracing, or Furmark
Hardware
- PC with RTX 5070 installed
- Stable CPU cooling and AIO coolers for Ryzen 9 setups (to isolate GPU thermals)
- Reliable gaming PSU (RTX 5070 requires 250W TGP, pair with 750W+ supply)
Tools: MSI Afterburner vs. NVIDIA App
| Feature | MSI Afterburner | NVIDIA App |
|---|---|---|
| Voltage/Frequency Curve Editor | Advanced (Ctrl+F) | Basic Power Limit slider only |
| Fine Control | Excellent (1 mV increments) | Limited (1% steps) |
| Learning Curve | Moderate | Beginner-friendly |
| Profiles/Save Settings | Yes (auto-apply at boot) | Limited |
| Real-time Monitoring | Detailed overlays | Basic |
Recommendation: Use MSI Afterburner for optimal control and precision. The curve editor is the gold standard for undervolting.
Step-by-Step Undervolting Guide (MSI Afterburner)
Step 1: Download and Install MSI Afterburner
- Visit
msi.com/afterburnerand download the latest stable version - Install and launch; you’ll see the main control panel with sliders
- Allow Afterburner to initialize your GPU—it takes 10–20 seconds
Step 2: Establish Your Baseline
- Run a short benchmark (3DMark Steel Nomad or Cinebench) at stock settings
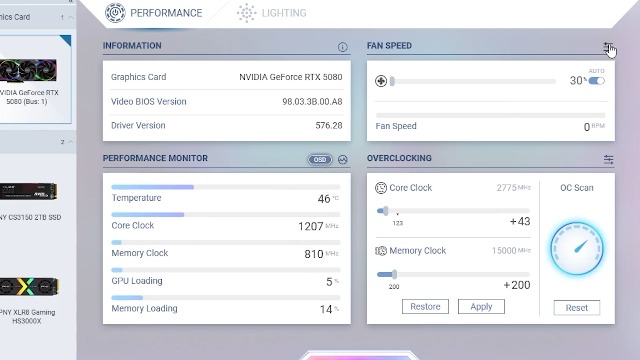
- Note the peak GPU clock and voltage (visible in Afterburner’s live graph). Most RTX 5070 cards hit 2475–2550 MHz @ 1.04V (1040 mV)
- Record peak temperature and power draw
Example Baseline: 2550 MHz @ 1040 mV, 78°C peak, 245W TGP
Step 3: Open the Voltage/Frequency Curve Editor
- In MSI Afterburner, locate the Core Voltage slider
- Click the small “Curve Editor” button (looks like a graph icon) below the voltage slider
- A new window opens showing a voltage-frequency curve with points at each 50 mV step
- The curve represents your GPU’s operating envelope: higher voltage = higher allowed boost clocks
Step 4: Identify Your Target Voltage
Most RTX 5070 undervolts start at one of these points:
| Target Voltage | Expected Clock | Thermal Benefit | Use Case |
|---|---|---|---|
| 875 mV | 2600–2700 MHz | Maximum (15°C+ reduction) | Efficiency-first, lower performance |
| 900 mV | 2700–2800 MHz | Very high (12–14°C reduction) | Quiet builds, silent operation |
| 925 mV | 2820–2880 MHz | High (10–12°C reduction) | Balanced tuning, most common |
| 950 mV | 2880–2950 MHz | Moderate (8–10°C reduction) | Minimal voltage drop, slight benefit |
Start here: Begin with 925 mV @ 2820 MHz—this is the sweet spot for most users, balancing temperature gains with stability.
Step 5: Edit the Curve
- In the Curve Editor, locate the point at your target voltage (e.g., 925 mV on the X-axis)
- Click the point and drag it UP to your stock max boost frequency (e.g., 2550 MHz)
- Now, select all points to the right of your target voltage (hold Shift, drag-select)
- Drag these points DOWN to match a flat line at your target frequency (e.g., 2820 MHz)
- The curve should now show: rise to your target voltage, then flatten at your new max frequency
- Click Apply
Step 6: Stability Testing
A successful undervolt must remain stable under load. Test for at least 30 minutes:
- 3DMark Steel Nomad or Speed Way: Run both tests; 30+ minutes combined. Watch for crashes/artifacts
- Cyberpunk 2077 (Path Tracing): Load into a detailed area (e.g., Heywood); play for 20–30 minutes
- Furmark: Run 15 minutes (controversial but useful for quick stability checks)
- Screen flickers or artifacts appear
- Game crashes to desktop
- Black screen with Windows restart
- NVIDIA driver crash
Step 7: Refine if Needed
If you see instability, it means your voltage is too low. Bump it up in 13–25 mV increments and retest:
- Unstable at 925 mV? Try 938–950 mV
- Unstable at 900 mV? Try 913–925 mV
- Stable, but want more efficiency? Try dropping voltage by 13 mV and test again
Repeat this cycle until you find the lowest stable voltage for your target clock. Every chip is unique due to silicon lottery, so your optimal curve may differ slightly from others’ results.
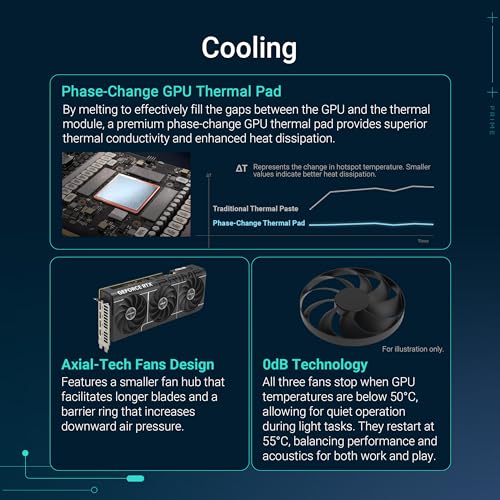
Step 8: Memory Overclocking (Optional)
Once your core is stable, consider a modest memory OC for extra gaming performance:
- RTX 5070 uses GDDR7 (28 Gbps standard)
- Safe memory OC: +1000 to +1500 MHz VRAM clock
- Use the Memory Clock slider in Afterburner; increases by 10 MHz increments
- Quickly test with a benchmark; if artifacts appear, drop back 250 MHz
Example: Memory +1200 MHz yields ~2–5% FPS gain with zero thermal cost.
Step 9: Save Profile and Enable Auto-Start
- Once stable, click the save profile button (floppy disk icon) in Afterburner
- Name it descriptively:
RTX5070_925mV_2820MHz - Go to Afterburner settings (gear icon) → General
- Enable “Start with Windows”
- Check “Apply profiles automatically” and select your saved profile
- Click OK
Now, your undervolt applies automatically every time you restart Windows.
Step 10: Monitor and Validate
After a full week of gaming, verify:
- Peak temps stay 10–15°C below stock (e.g., 70°C vs. 83°C)
- Power draw reduced by 30–50W
- Fan speeds lower = quieter operation
- No crashes or driver resets
- Gaming performance stable or improved (due to higher sustained boost clocks)
Real-World Tuning Examples
Conservative (Quiet Gaming)
- Settings: 900 mV, 2750 MHz core + 1000 MHz memory
- Results: 65°C peak, 45W lower TGP, silent fans
- Performance: 2–3% FPS dip vs. stock (acceptable for quiet operation)
Balanced (Most Users)
- Settings: 925 mV, 2820 MHz core + 1200 MHz memory
- Results: 70°C peak, 40W lower TGP, significantly quieter
- Performance: Stock FPS or 1–2% gain (thermal headroom boost)
Aggressive (Efficiency-First)
- Settings: 875 mV, 2700 MHz core + 1500 MHz memory
- Results: 62°C peak, 55W lower TGP, near-silent fans
- Performance: 5–8% FPS reduction (trade-off for extreme efficiency)
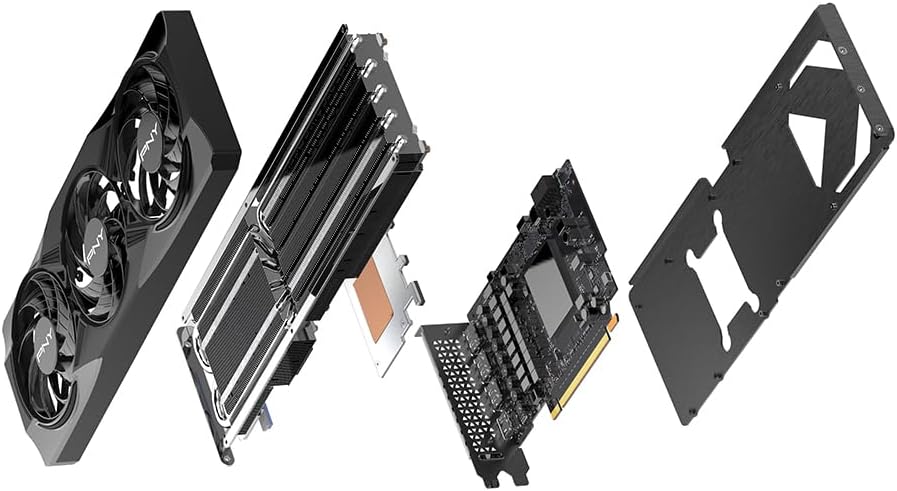
Recommended RTX 5070 Graphics Cards
These high-quality models undervolt exceptionally well due to superior power delivery and cooling:
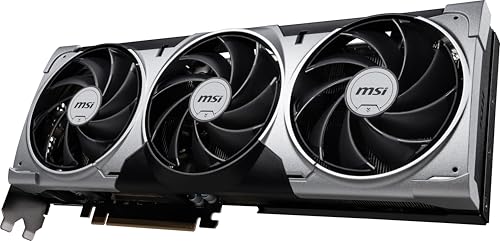
Gigabyte RTX 5070 WINDFORCE OC SFF 12G

GIGABYTE GeForce RTX 5070 WINDFORCE OC SFF 12G Graphics Card, 12GB 192-bit GDDR7, PCIe 5.0, WINDFORCE Cooling System, GV-N5070WF3OC-12GD Video Card
As an Amazon Associate we earn from qualifying purchases. Product prices and availability are accurate as of the date/time indicated.
Why: Excellent VRM, quiet WINDFORCE cooling, compact form factor. Achieves 925mV stable at 2820 MHz with very low temps (68–70°C).
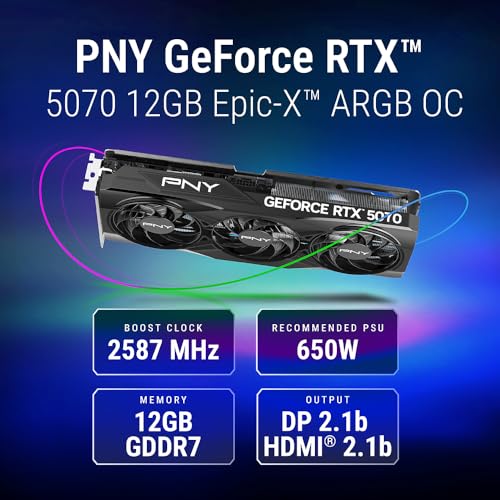
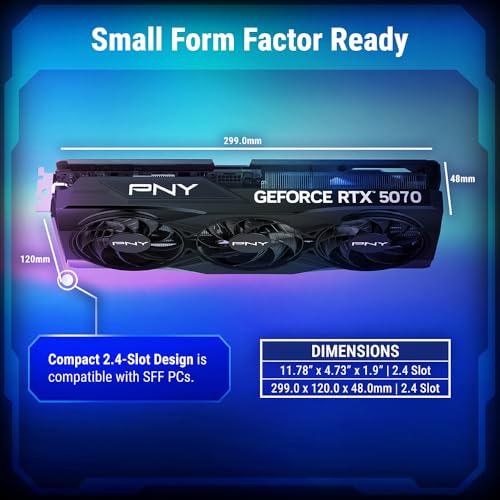
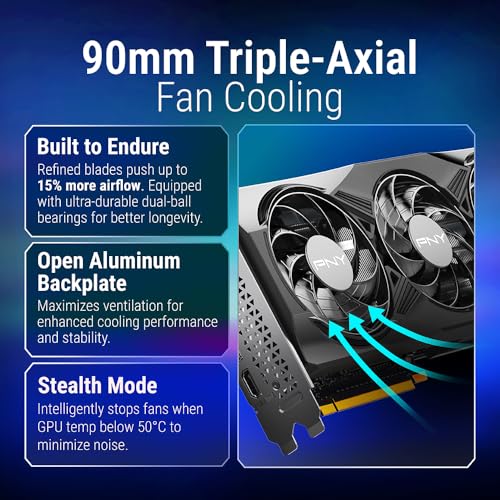
PNY RTX 5070 OC Triple Fan 12G

PNY NVIDIA GeForce RTX™ 5070 OC Triple Fan, Graphics Card (12GB GDDR7, 192-bit, Boost Speed: 2587 MHz, SFF-Ready, PCIe® 5.0, HDMI®/DP 2.1, 2.4-Slot, Blackwell Architecture, DLSS 4)


As an Amazon Associate we earn from qualifying purchases. Product prices and availability are accurate as of the date/time indicated.
Why: Mid-range cooling, good stock boost (2587 MHz), reliable undervolting to 925mV. Solid value and stable performance.
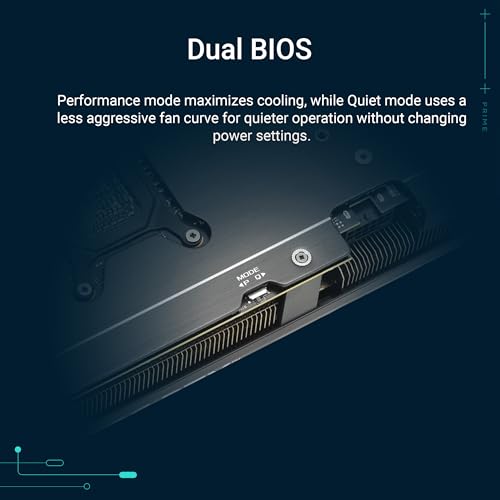
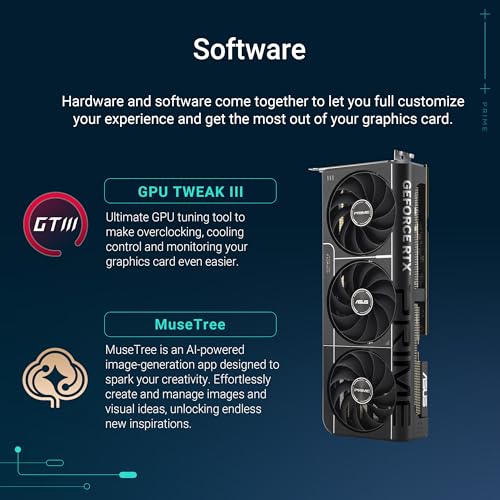
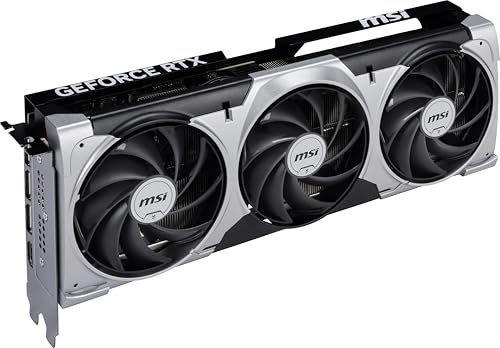
ASUS Prime RTX 5070 OC Edition 12G

Prime ASUS Prime GeForce RTX 5070 OC 12G GDDR7 Gaming Graphics Card - PCIe 5.0, 2587MHz Boost Clock, 1 x HDMI 2.1b, 3 x DP 2.1b, 2.5-Slot, Axial-tech Fans, Dual BIOS, SFF-Ready


As an Amazon Associate we earn from qualifying purchases. Product prices and availability are accurate as of the date/time indicated.
Why: Premium power delivery, dual BIOS failsafe (safe if tuning goes wrong), SFF-ready. Hits aggressive 900mV @ 2750 MHz stable.
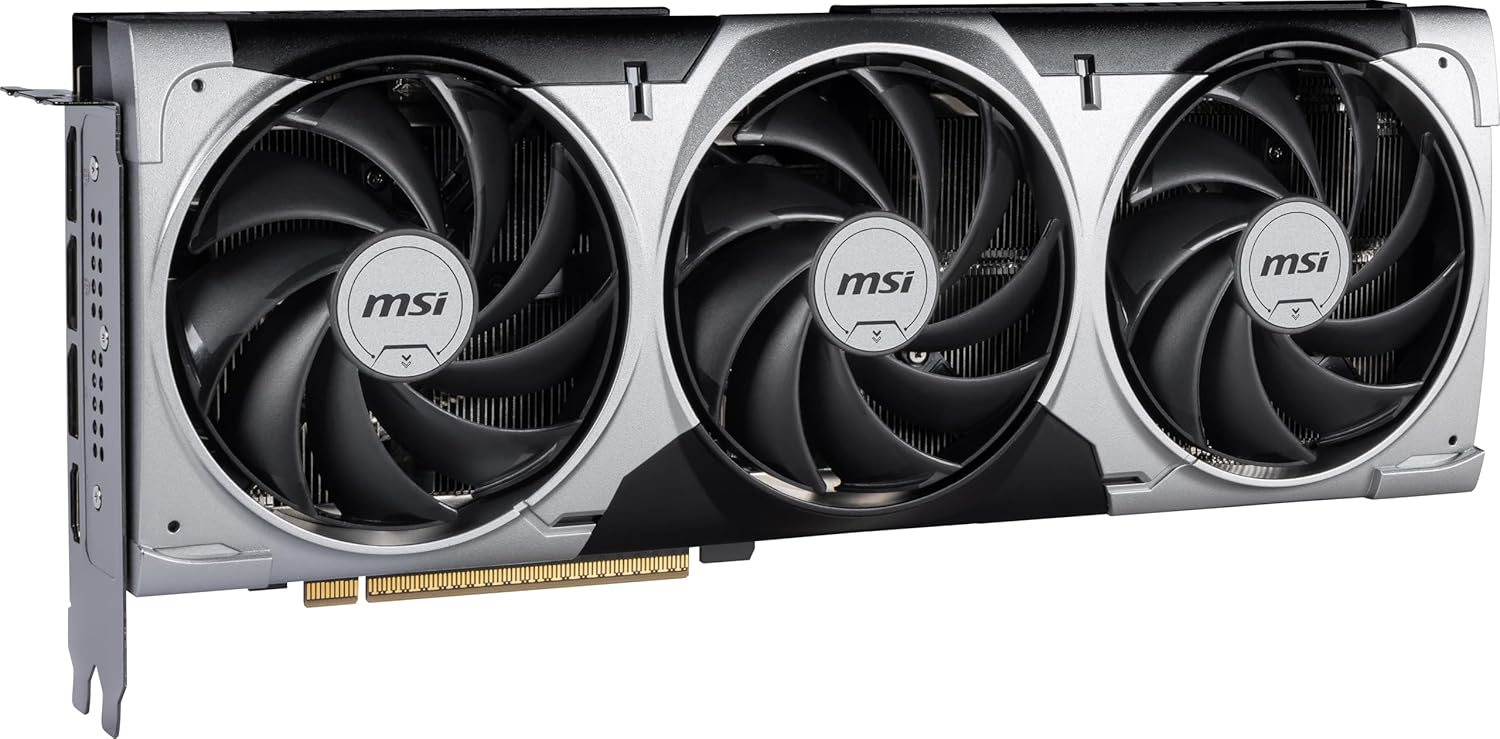
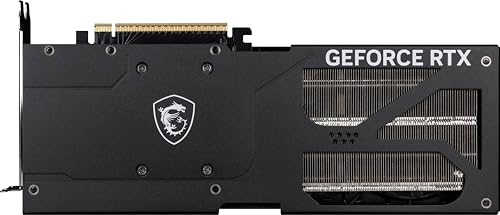
MSI RTX 5070 Ventus 3X OC 12G

msi Gaming RTX 5070 12G Ventus 3X OC Graphics Card (12GB GDDR7, 192-bit, Extreme Performance: 2557 MHz, DisplayPort x3 2.1a, HDMI 2.1b, NVIDIA Blackwell Architecture)


As an Amazon Associate we earn from qualifying purchases. Product prices and availability are accurate as of the date/time indicated.
Why: High boost stock (2557 MHz), aggressive thermal design. Excellent for 925mV @ 2880 MHz tuning without excessive thermals.
Related Guides
Maximize your RTX 5070’s potential with these complementary resources:
- Best AIO Coolers for Ryzen 9 – Pair your undervolted GPU with top-tier CPU cooling
- Best PSU for Gaming – Ensure your power supply handles the RTX 5070’s 250W TGP safely
- Best Gaming Monitors 1440p 240Hz – Display the high FPS your tuned RTX 5070 delivers
- RTX 5070 vs 5070 Ti – Compare specs and undervolting headroom between models
- Best RTX 5070 Gaming PC Deal – Find pre-built systems with undervolting-friendly PSU specs
Frequently Asked Questions
1. Will undervolting void my GPU warranty?
No. NVIDIA officially supports GPU tuning via their driver and Afterburner. Undervolting—by nature—applies *lower* voltage, making it safer than overvolting. Most manufacturers won’t flag undervolting as a warranty violation. However, if your card fails and you’re running a highly aggressive tune, mention you were undervolting when contacting support (be honest). Founders Edition and most partner cards are warranty-safe for reasonable undervolts.
2. What’s the “silicon lottery”? Why do results vary between cards?
Silicon lottery: Every GPU chip is manufactured slightly differently at the atomic level. Some chips need 925 mV to hit 2820 MHz; others need 950 mV or can do it at 900 mV. This is why your personal testing is critical—your unique chip has unique limits. Start conservative (925 mV) and incrementally lower voltage or raise clock until unstable, then back off 13–25 mV.
3. Can I revert an undervolt if something goes wrong?
Yes, absolutely. Click the “Reset” button in Afterburner to restore all default settings instantly. If you’re unable to boot after an aggressive tune, restart into Safe Mode, uninstall Afterburner, and reinstall it—your card will reset to stock. For extra safety, save a “Stock” profile before experimenting.
4. Should I undervolt the memory as well?
Not typically. Memory operates independently and rarely benefits from voltage reduction. However, memory *overclocking* (not undervolting) is safe: +1000–1500 MHz VRAM yields 2–5% FPS gain with zero stability risk. Focus your efforts on the core voltage curve; memory stays at defaults or slightly overclocked.
5. How much can I expect to save on electricity bills?
30–50W per card. If you game 4 hours daily and pay $0.15/kWh (US average), a 40W reduction saves ~$22/year per GPU. Over a 3-year card lifespan, that’s $66 in electricity alone, plus the thermal/longevity benefits are substantial.
Conclusion
Undervolting your RTX 5070 is a straightforward, risk-free optimization that every enthusiast should attempt. The process takes under an hour, requires only free software, and delivers measurable gains: 10–15°C temperature drops, 30–50W power savings, and noticeably quieter gameplay. Using MSI Afterburner’s voltage/frequency curve editor, you can achieve 925 mV @ 2820 MHz on most chips, hitting the sweet spot between thermal efficiency and performance.
Start with the balanced tuning profile (925 mV), test for stability, and refine from there. Your unique chip will settle at its optimal point within a few iterations. Save your profile, enable auto-start, and enjoy cooler, quieter gaming for the next 3+ years—with the added bonus of reduced electricity costs and extended GPU lifespan.
If you’re shopping for an RTX 5070, look for models with robust power delivery and excellent cooling—the Gigabyte WINDFORCE OC, ASUS Prime OC, MSI Ventus 3X OC, and PNY OC all undervolt exceptionally well. Pair your card with a high-quality gaming PSU and consider a quality AIO cooler for your CPU—a balanced system yields the best cooling and quietest performance.
Happy undervolting!


