Affiliate disclosure: As an Amazon Associate we earn from qualifying purchases. This post contains affiliate links — if you buy through them we may earn a small commission at no extra cost to you. This never affects our recommendations.
In a hurry? See the top-rated Streamer Setup for (Twitch + YouTube Ready) deals available right now:
🛒 Check Streamer Setup For (Twitch + Youtube Ready) Prices on Amazon →Quick answer: For most people in 2026, the best streamer setup is the Gaming PC — our #1 rated choice. See the full ranked comparison, alternatives and buying advice below.
Best Streamer Setup for 2026 (Twitch + YouTube Ready)
Streaming in 2026 is competitive, and your hardware directly impacts broadcast quality, audience experience, and growth potential. A professional streamer setup combines a powerful PC (for gaming at high frame rates while encoding), broadcast-quality audio and video capture, a multi-monitor workflow, and streaming software optimized for Twitch or YouTube. This guide covers every component needed to launch a professional streaming career.
Unlike casual gamers, streamers need dual-GPU setups, dedicated capture cards, broadcast-quality microphones, and optimized streaming software. We cover all of it—the PC, audio chain, lighting for on-camera presence, and workflow optimization to manage chat, alerts, and overlays simultaneously.

The Vision
Your streaming setup runs high-bitrate 1440p 60FPS or 4K 30FPS broadcasts with pristine audio, on-screen overlays with real-time alerts, interactive features (chat overlay, raid notifications, tip notifications), and multiple camera angles if desired. The streaming PC encodes video in real-time while your gaming PC pushes 100+ FPS. Chat is visible on a secondary monitor. Audio is professionally mixed with a hardware interface. Alerts trigger RGB lighting and sound effects, immersing viewers in your broadcast.
Centerpiece Hardware
| Component | Recommendation | Cost | Purpose |
|---|---|---|---|
| Gaming PC | RTX 5090 + 9950X3D (see most-powerful build) | $4,500 | Game engine + encoding offload |
| Capture Card | Elgato 4K60 Pro XT or AverMedia Live Gamer Duo | $250-350 | HDMI/DisplayPort game capture at high bitrate |
| Microphone | Shure SM7B + Cloudlifter | $400 | Studio-quality audio; industry standard |
| Microphone Arm | Rode PSA1 or Elgato Wave Mic Arm | $80 | Boom positioning; reduces handling noise |
| Audio Interface | Focusrite Scarlett 4i4 3rd Gen | $150 | USB audio input/output; hardware monitoring |
| Desktop Microphone | Elgato Wave:3 | $100 | Backup mic + talkback to chat |
| Headphones | Audio-Technica AT2020+ Closed-Back | $150 | Low-latency monitoring; no mic feedback |
| Lighting (Key) | Neewer RGB Panel (2x 480W equivalent) | $120 | Main lighting; controls on-camera appearance |
| Lighting (Fill) | Neewer RGB Panel (1x 480W equivalent) | $60 | Secondary lighting; shadow reduction |
| Camera | Logitech C920 Pro or Canon EOS R50 (HDMI out) | $120-500 | Facecam; optional for personality-driven streams |
| Primary Monitor | 1440p 144Hz IPS (gameplay display) | $400 | Game output during streaming |
| Secondary Monitor | 1440p 60Hz IPS (chat/OBS) | $250 | Chat overlay, OBS control panel, alerts |
| Desk | Secretlab Magnus Pro Electric | $800 | Cable routing; organize broadcast equipment |
| RGB Lighting (Ambient) | Corsair iCUE (case + peripherals) | $400 | Alert-driven lighting for audience engagement |
Our top hero pick at this tier — see specs and current price:

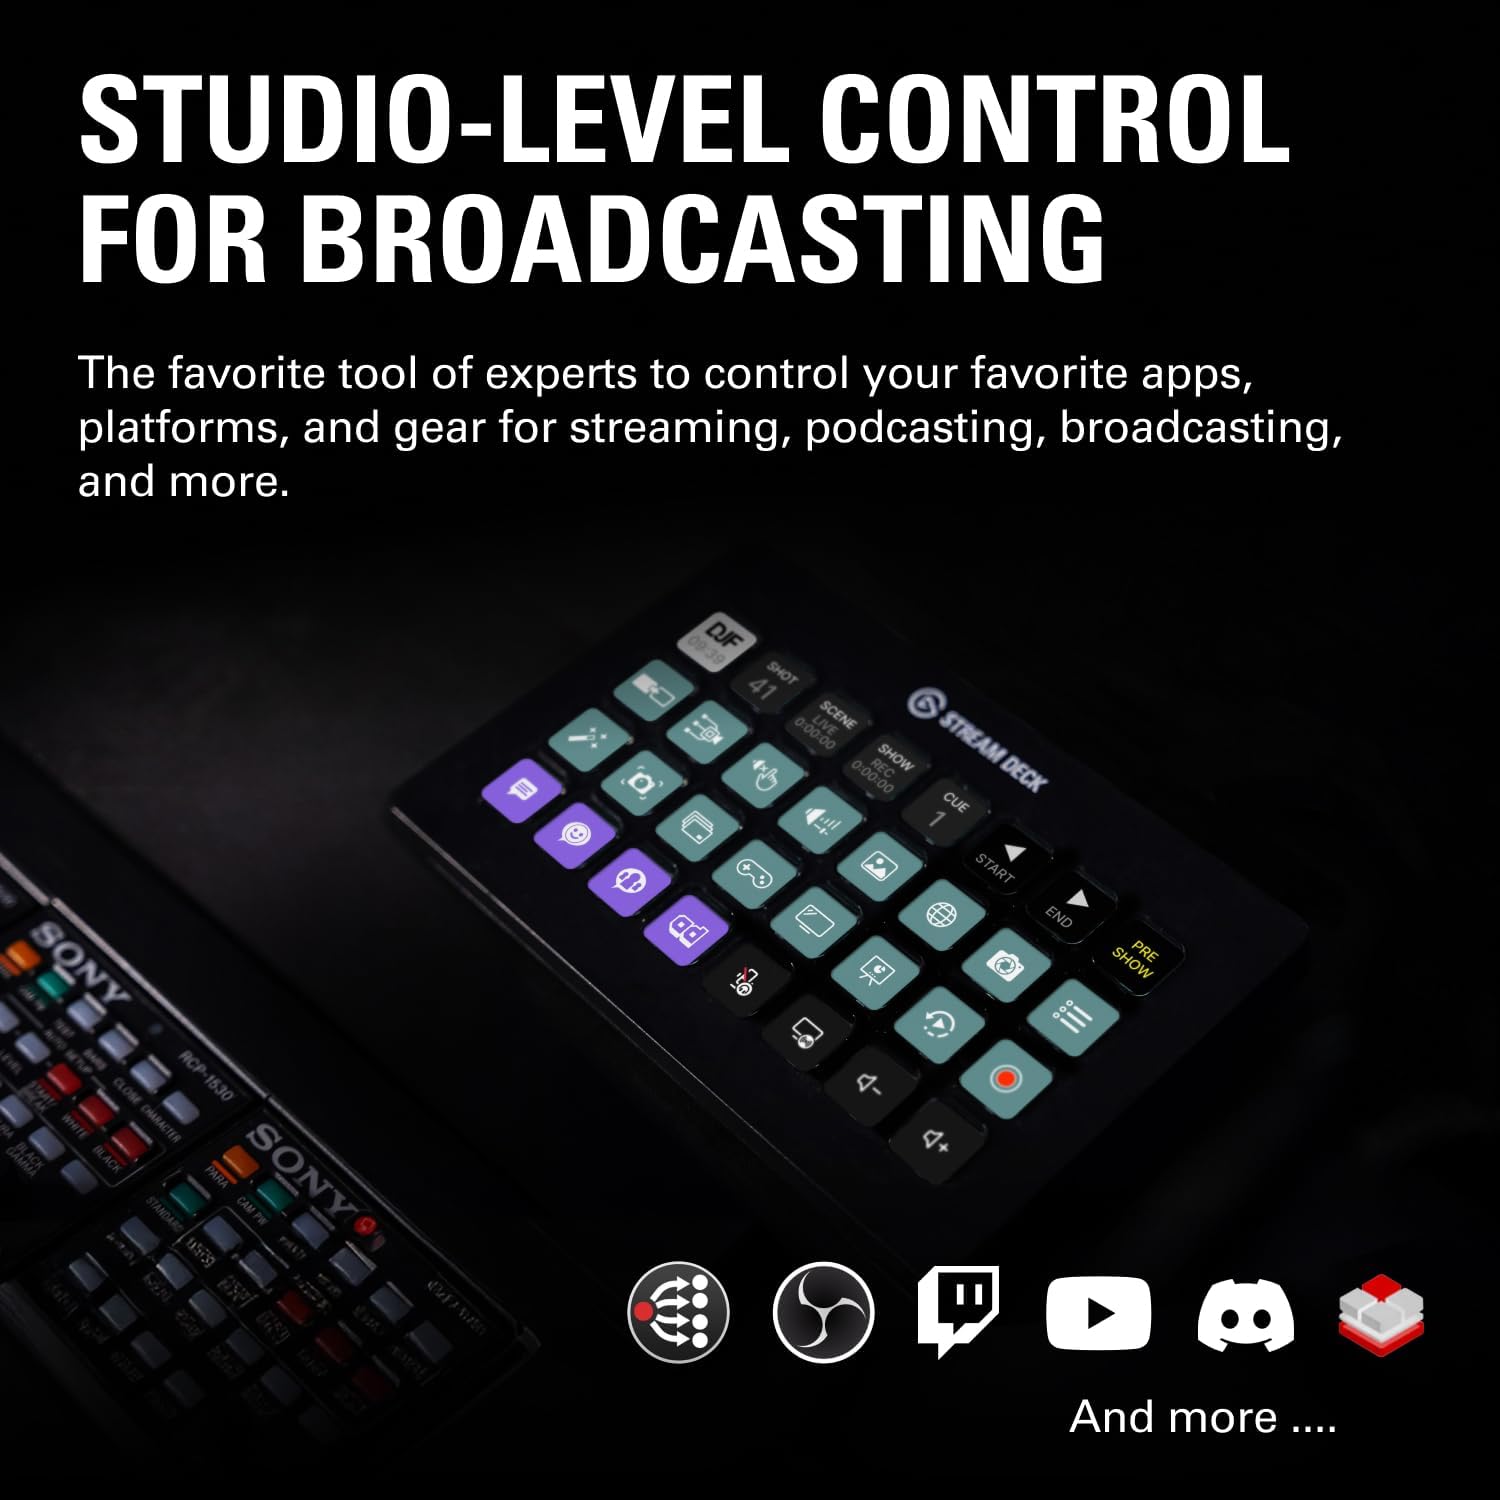
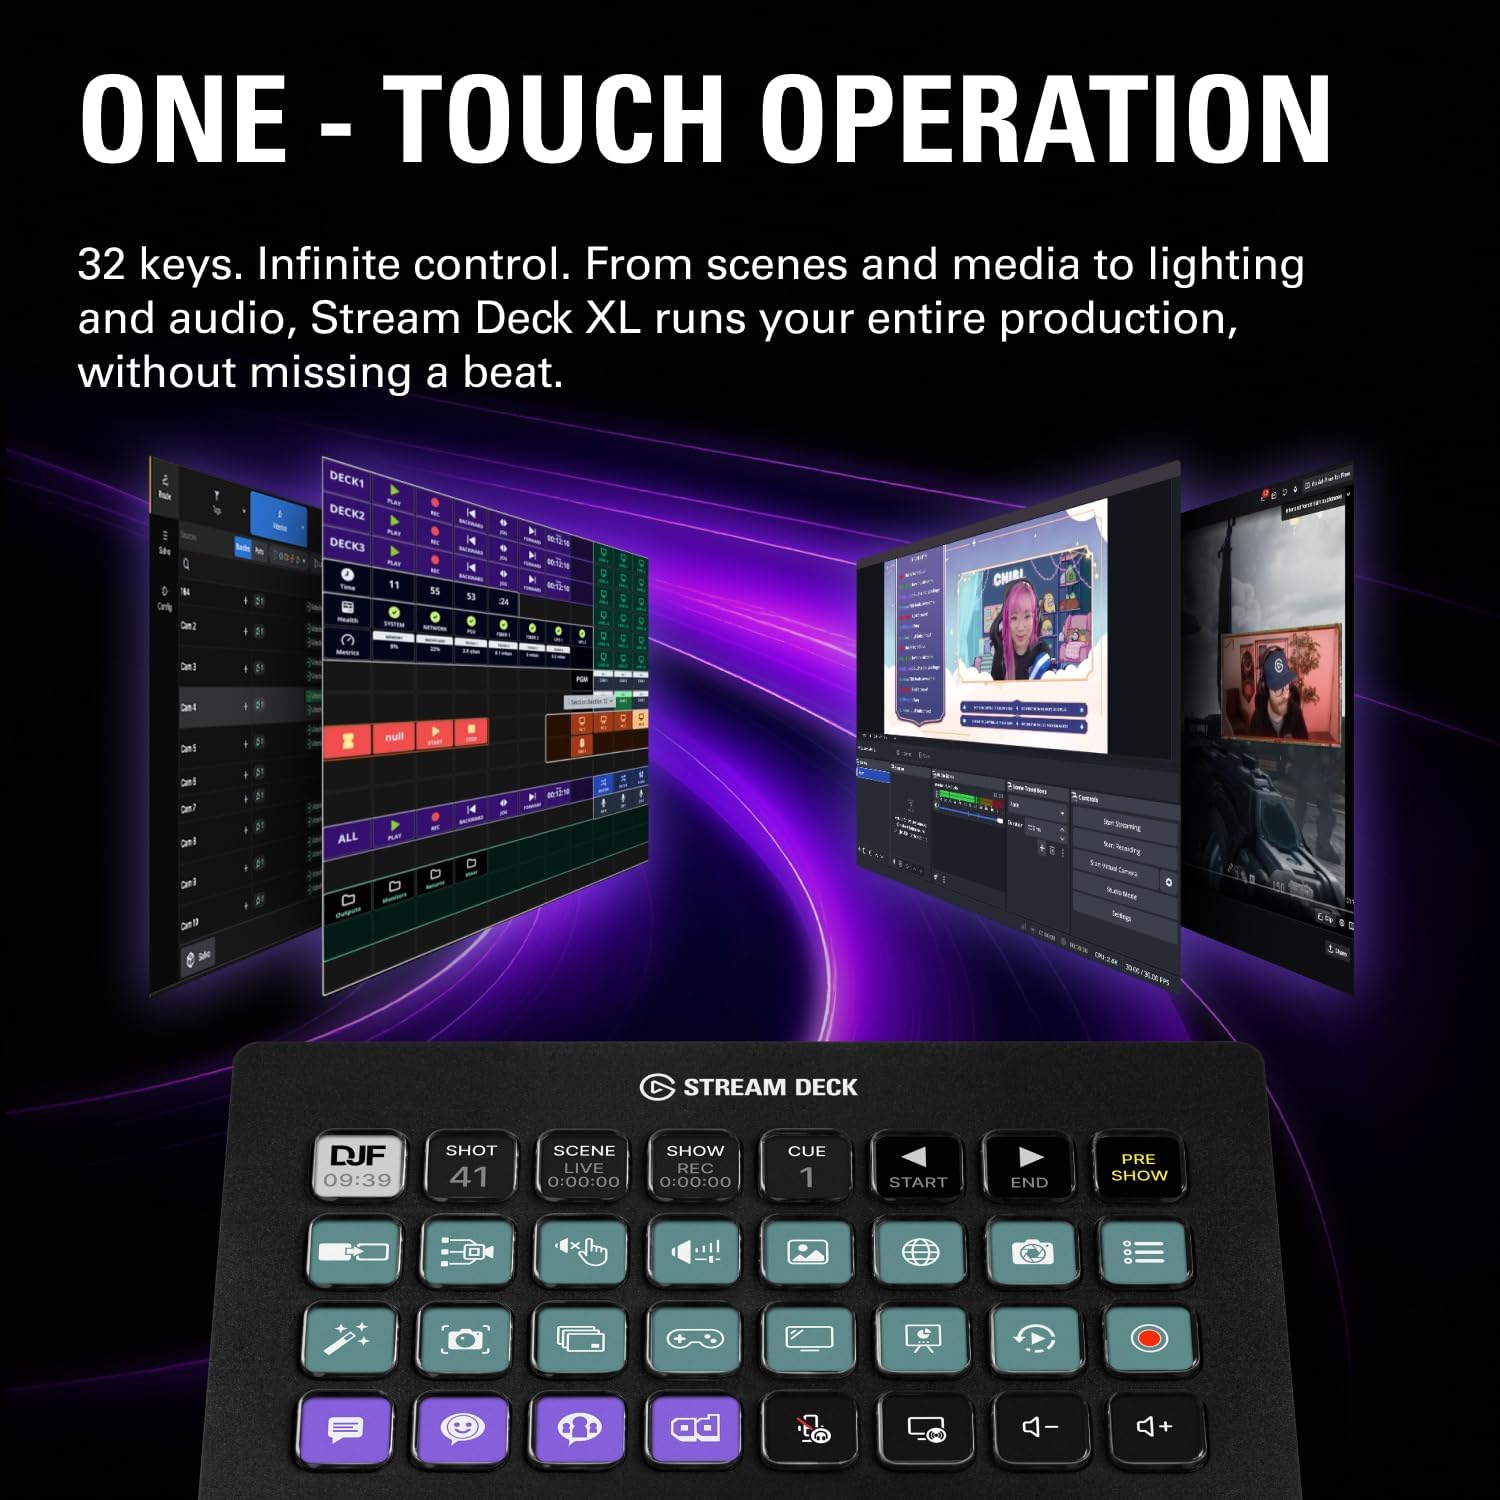
Prime Elgato Stream Deck XL – Advanced Studio Controller, 32 Macro Keys, Trigger Actions in apps and Software Like OBS, Twitch, YouTube and More, USB, Works with Mac and PC


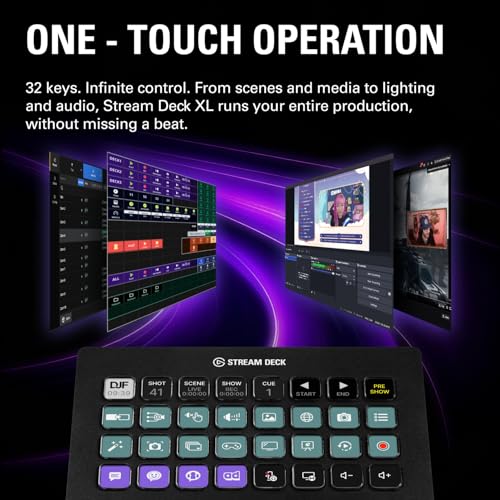
As an Amazon Associate we earn from qualifying purchases. Product prices and availability are accurate as of the date/time indicated.
Display(s)
Streamers need a three-monitor setup minimum: primary (game display), secondary (chat/OBS), tertiary (streaming metrics/Discord). Alternatively, a 5120×1440 ultrawide primary display handles gameplay + chat + metrics in a single screen. Popular choices: LG 49WL500 ultrawide or triple standard monitors.
The gaming monitor should be 1440p 144Hz+ for smooth gameplay. The OBS/chat monitor can be basic 1440p 60Hz—it’s not performance-critical. Vertical mount the secondary monitor or place it on a monitor arm at a 30-degree angle for easy visibility during gameplay.
Color accuracy matters if you want your on-camera presence to look good. Use an IPS panel for accurate skin tones and lighting. TN panels look washed out on camera.
Audio
Broadcast audio is more critical than 4K visuals. Poor audio drives viewers away. Invest in a quality microphone first.
Microphone Chain: Shure SM7B (studio standard) → Cloudlifter (preamp for sensitivity) → Focusrite Scarlett 4i4 (USB interface) → OBS (broadcast destination). The SM7B costs $400 upfront but delivers broadcast-quality audio that lasts decades.
Alternative (Budget): Elgato Wave:3 ($100) skips the interface—it’s USB-native and broadcast-ready. Quality is 80% of the SM7B; cost is 25%. Great starter option.
Audio Monitoring: Use a hardware audio interface with built-in monitoring. Listen to your broadcast mix on headphones while gaming, ensuring balance between game audio, voice, and music. Focusrite Scarlett 4i4 handles this perfectly.
Background Music: Use royalty-free music from YouTube Audio Library or Epidemic Sound. License matters for monetization. Never use unlicensed music—Twitch/YouTube will mute VODs or claim monetization.
Lighting
Proper lighting is the difference between looking professional and looking like you’re streaming from a basement. Three-point lighting (key + fill + back) is standard in broadcast:
Key Light: Main light source 45 degrees above eye level, slightly left or right of center. Illuminates your face, creates depth.
Fill Light: Secondary light opposite the key light, reducing shadows. Lower intensity than key light.
Back Light: Optional; separates you from the background, creates depth. Use if you have a dedicated streaming space.
Recommended: Two Neewer RGB panels ($120 + $60) give you key + fill with color temperature control (3200K-5600K). Set to 4500K-5000K for natural daylight temperature that looks good on camera. Brightness adjusted based on room ambient light.
Software & Workflow
Streaming Software: OBS Studio (free, open-source) is the standard. Set up scenes for different layouts: “Just Chatting” (webcam only), “Gameplay” (game + webcam + chat overlay), “Menu” (static overlay with music). Switch between scenes during stream.
Broadcast Settings: Twitch recommends 1080p 60FPS or 1440p 30FPS for partner streamers. YouTube supports up to 4K 60FPS if you have streaming enabled. Use H.264 codec (software encoding on RTX 5090) or NVENC (GPU hardware encoding). NVENC reduces CPU load, leaving gaming performance untouched.
Chat Management: Display chat overlay on secondary monitor using OBS. Popular plugins: StreamElements overlay (alerts, tips), Streamlabs (donation notifications), Nightbot (moderation automation).
Metrics Monitoring: Use NVIDIA’s broadcast software or OBS plugins to monitor real-time metrics: bitrate, FPS, encoding lag, chat activity. These live on the tertiary monitor.
Alert System: Connect StreamElements or Streamlabs to trigger RGB lighting (via iCUE plugins), play sound effects, and display on-screen notifications when someone follows, tips, or raids. Create audience engagement loops.
Total Cost Breakdown
PC (Gaming + Encoding): $4,500 (RTX 5090 setup)
Capture Card: $300
Audio Chain: $700 (microphone, interface, arm, monitoring headphones)

Lighting: $200 (key + fill panels)
Monitors (3x): $1,000
Desk + Furniture: $1,000
RGB + Cable Management: $400
Camera (Optional): $200
Total: $8,300-8,500 (without camera) to $8,500-8,700 (with camera)
Budget up or down by swapping GPU tier or removing optional components (camera, fill light).
Vs Other Setups
A budget streamer setup ($2,000-3,000) uses a mid-range PC, standard USB microphone, basic lighting. Works for starting out, but audio quality and visual polish limit audience growth.
A mid-tier streamer setup ($5,000-6,000) swaps the RTX 5090 for RTX 5080, uses a quality USB microphone (Elgato Wave:3), basic RGB lighting. Better but still compromises on audio and PC performance during demanding game streaming.
Our professional setup ($8,300-8,700) provides broadcast-quality audio, powerful PC encoding, professional lighting, and optimization for audience engagement. Designed for serious streamers or content creators pursuing monetization.
Internal Setup References
Build context and complementary information:
- Most Powerful Gaming PC 2026 — The gaming core of this setup.
- Ultimate Gaming Setup 2026 — Premium peripherals applicable to streaming.
- Best RGB Gaming Setup Ideas 2026 — Alert-driven RGB for audience engagement.
- Best PC Build for Cyberpunk 2077 — Visually stunning game to showcase streaming potential.
- Best Dual Monitor Gaming Setup 2026 — Multi-monitor optimization strategies.
If you want a complementary alternative for variation, this pairs well with the hero:
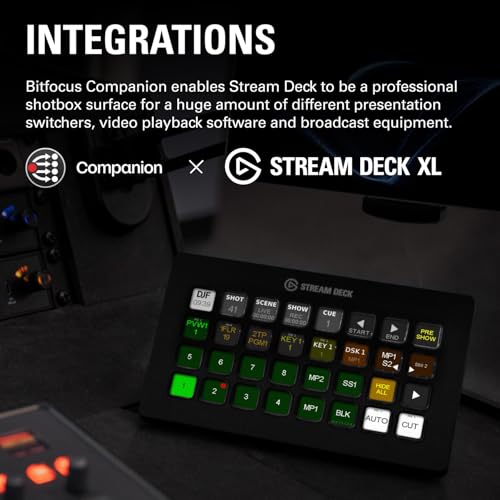
Prime Elgato Stream Deck XL – Advanced Studio Controller, 32 Macro Keys, Trigger Actions in apps and Software Like OBS, Twitch, YouTube and More, USB, Works with Mac and PC
As an Amazon Associate we earn from qualifying purchases. Product prices and availability are accurate as of the date/time indicated.
FAQ
Do I need a capture card? Not mandatory—NDI (Network Device Interface) over local network is free alternative. But capture cards offer lower latency and stability. Recommended for professional streams.
Is a facecam necessary? Not required, but personality-driven streams (variety, creative, just-chatting) benefit enormously. Gameplay-focused streams (competitive, speedruns) can skip it. Recommended if you want audience connection.
What bitrate should I use? Twitch supports 6Mbps max for standard partners. YouTube supports 51Mbps for 4K. Use 6000kbps on Twitch for 1080p 60FPS, or 9000kbps for 1440p 30FPS. Don’t exceed—viewers with poor connections will buffer.
Should I use hardware or software encoding? NVIDIA NVENC (GPU encoding) if you have an RTX card. It’s faster and preserves gaming performance. Software encoding (CPU x264) is slower and diverts CPU resources from gaming.
How much internet speed do I need? 25Mbps upload minimum for 1080p 60FPS streaming reliably. 50Mbps+ for 1440p or dual-bitrate streaming (main + backup). Check your ISP upload speed—it’s often the limiting factor for streamers.
Final Verdict
Professional streaming in 2026 requires hardware investment, but this setup positions you to build a sustainable streaming career. Broadcast-quality audio, powerful PC, professional lighting, and optimized workflow differentiate you from hobbyists.
Start with the core (PC + audio + monitors) and add camera and advanced RGB later. Audio is non-negotiable—invest there first. Everything else scales.
Go live with confidence. Your setup is broadcast-ready.
Related Articles
Looking for more on this topic? Browse the hand-picked guides below — each one applies the same scoring rubric used in this review.
Ready to decide? Our #1 pick for 2026 is the Gaming PC.
Live price & availability on Amazon.


